Advanced Features
Setting up User Management
To adjust user access, navigate to your toolbar to the left of the screen and select the ‘User Management’ tab under Settings.
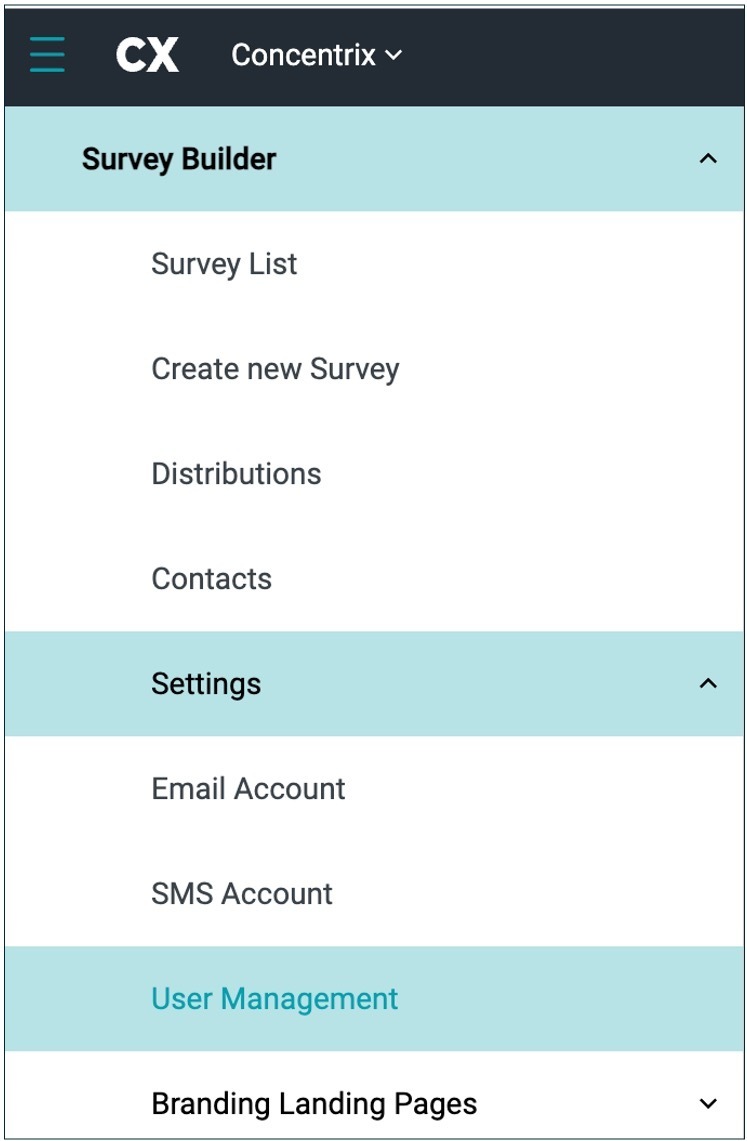
The User Management allows you to add & define user role, edit user access within the survey, you can remove, search and edit user access. By using the search bar at the top of your screen you can search by username and be able to see breakdown by roles.

Establishing Email Account
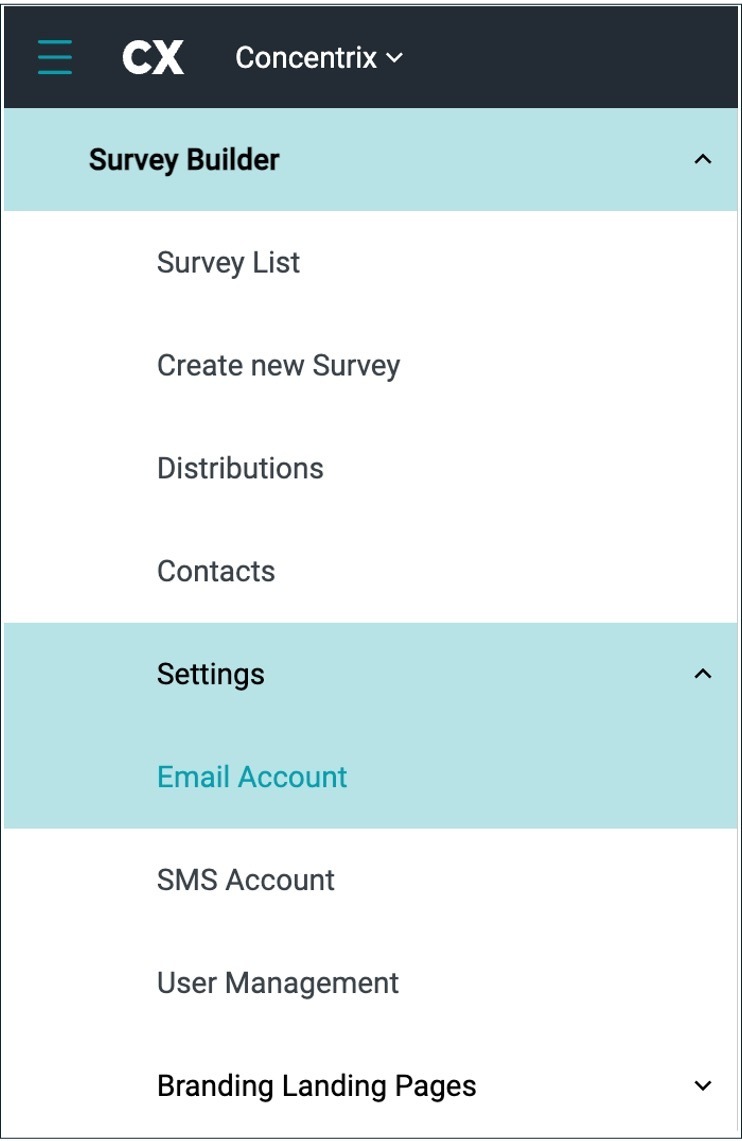
To access the Survey Settings, navigate to the toolbar on the left side of your screen and scroll to the ‘Settings’ dropdown. Select the settings dropdown to view and manage the surveyor’s account information.
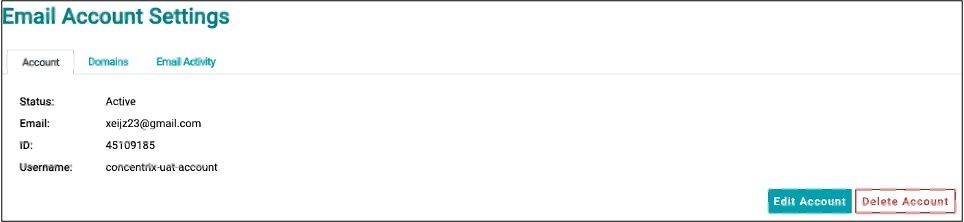
To update the surveyor's email account, navigate to the ‘Account’ tab where you can view and modify account details. To make changes, click on the ‘Edit Account’ button located at the bottom right of your screen. You will be prompted to enter your email. Be sure to check the status box to mark the account as active. Once you've made your edits, click ‘Submit’ to save the changes. If needed, you can also delete the account by selecting the ‘Delete’ option.

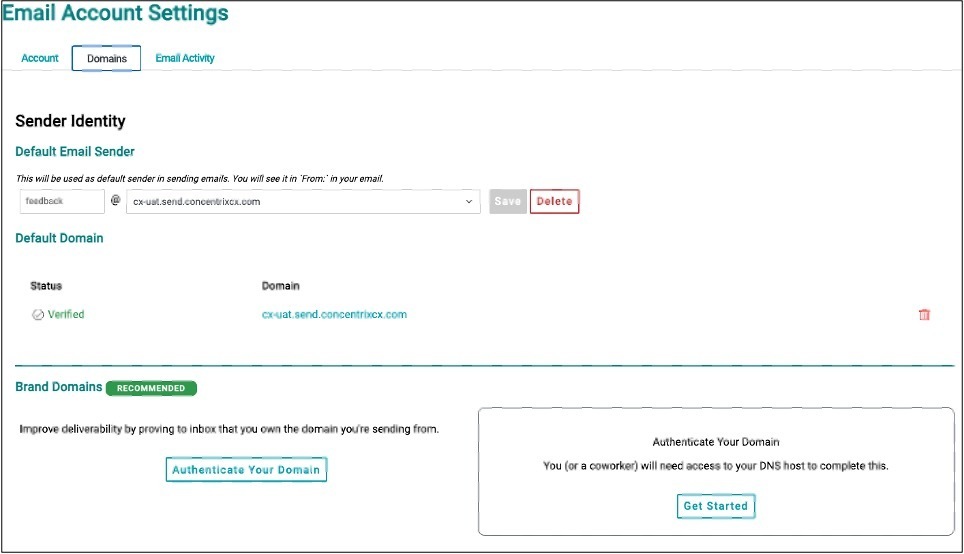
To adjust your email domain, navigate to the top of your Email Account Settings page and select the ‘Domains tab’.
To view the performance of email surveys, go to the top of your Email Account Settings and click on the ‘Email Activity’ tab. This will display the survey statistics. To change the date range, simply click on the date range option at the top of the screen and select your preferred dates from the calendar.
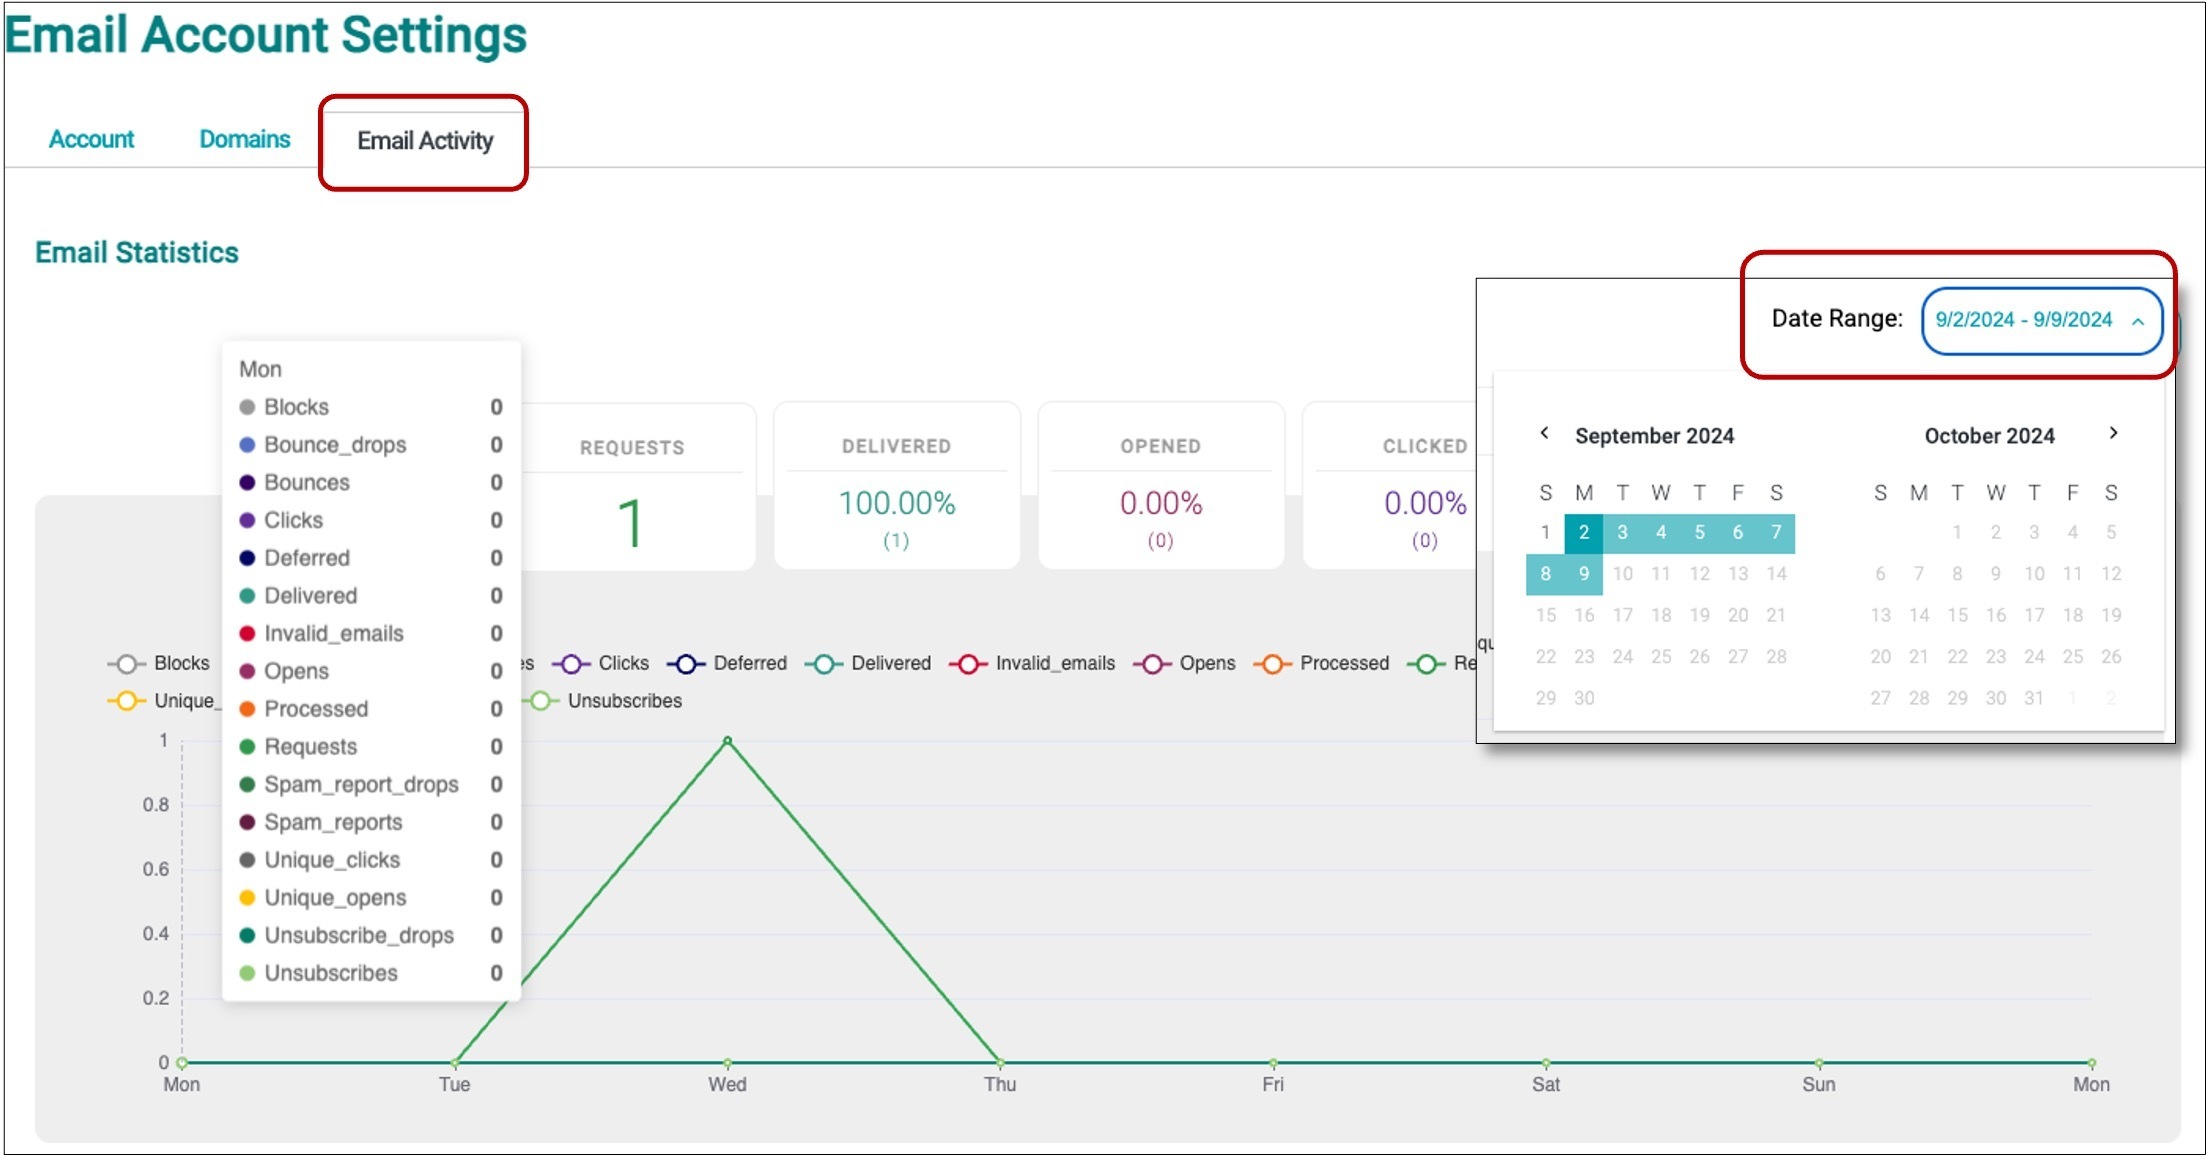
In the Email Activity tab, you can also view a graph that shows how respondents interacted with the email. The graph's key is color-coded, and you can click on a specific key to grey it out and remove it from the graph.
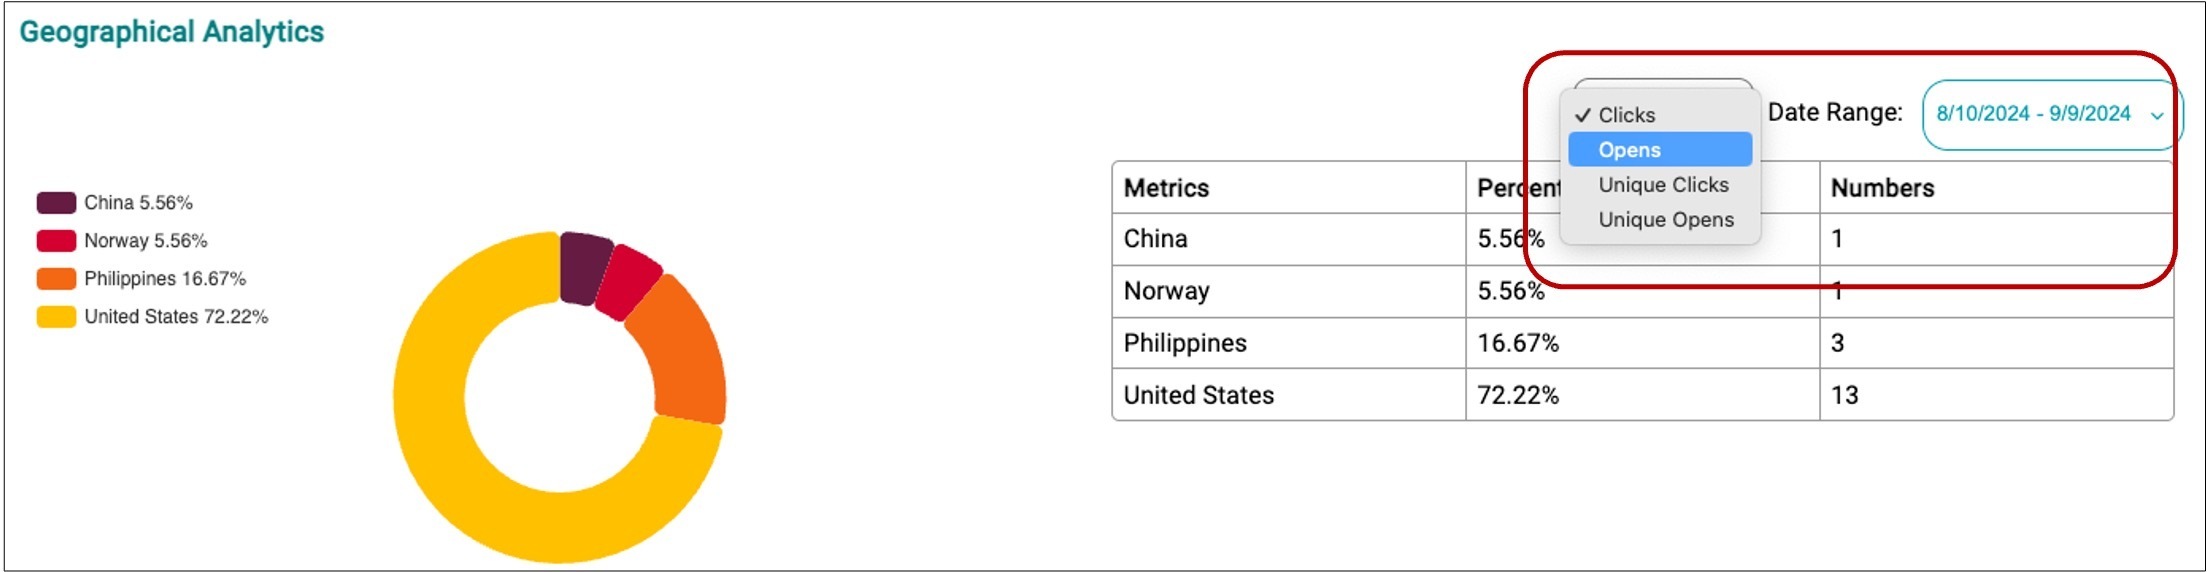
For more detailed insights, scroll down to the Geographical Analytics section, where you'll find data from specific locations. To adjust the metrics or timeframe, use the dropdown menu at the top of the chart.
Establishing SMS Account
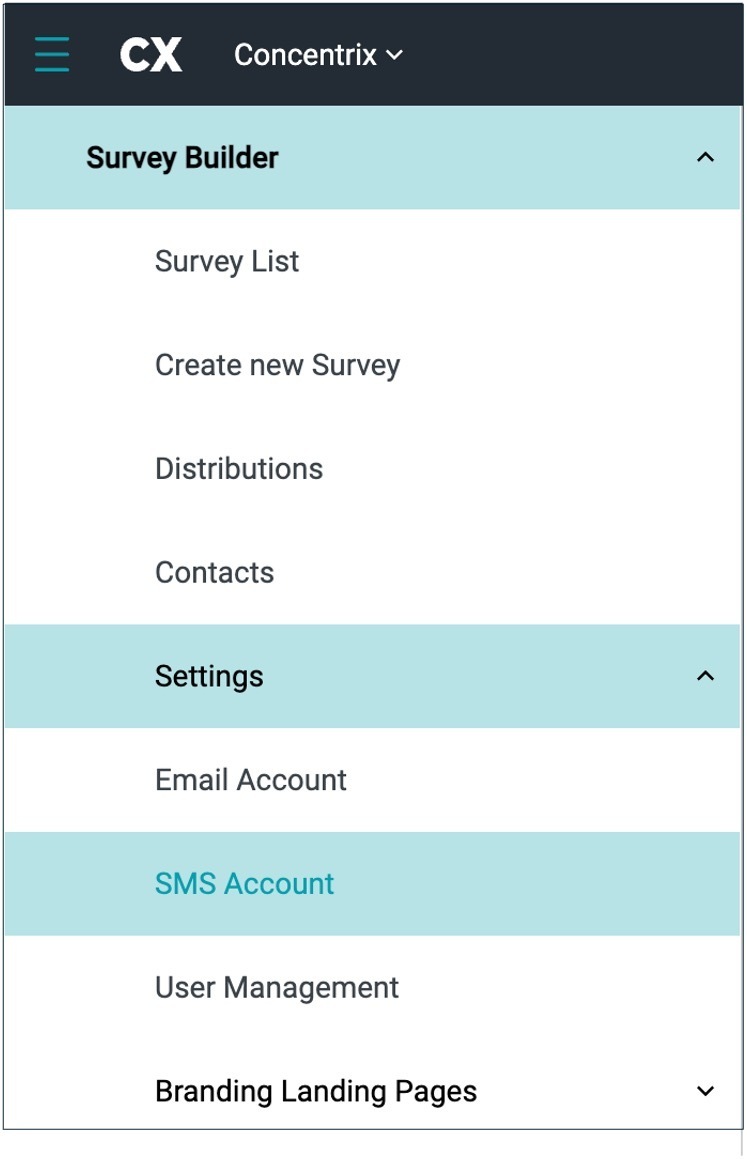
To manage SMS surveys, navigate to your toolbar on the left side of your screen and select ‘SMS Account’ from the Settings dropdown.
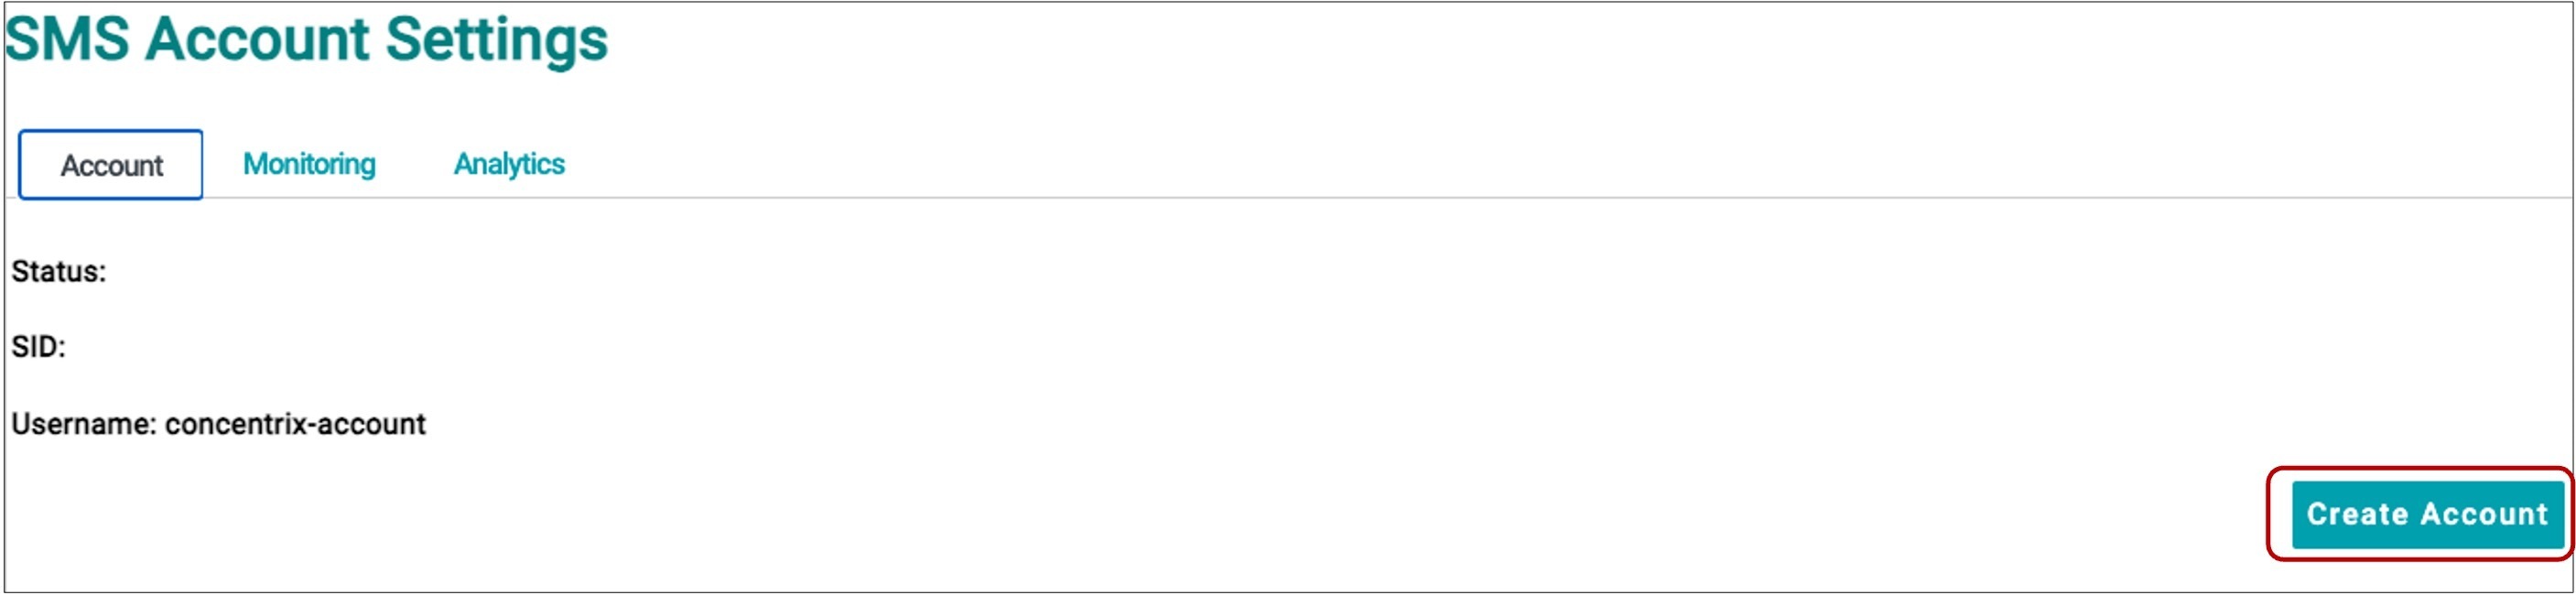
The first step is to create a sub-user by clicking the ‘Create Account’ button under the Account tab. Once the sub-user is created, a Messaging Service will be automatically generated, which can then be used to send Short Message Service (SMS) through the Distributions Menu.
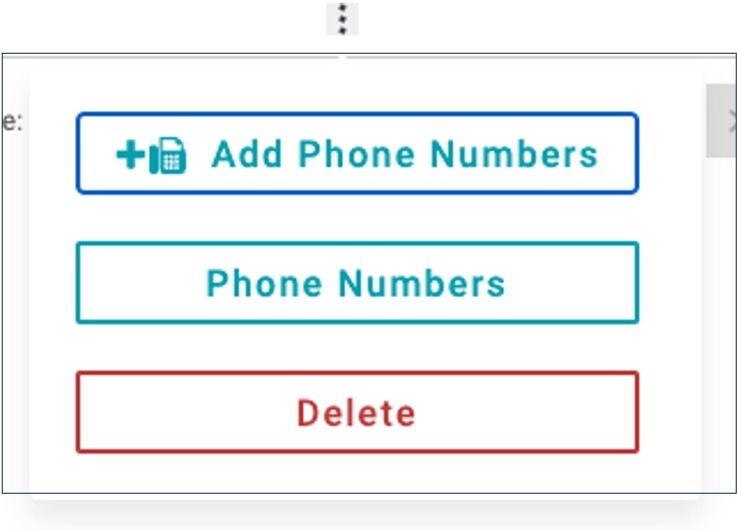
To set up the SMS account, you need to add a phone number. Click the ellipsis at the bottom of the page and choose either ‘Add Phone Numbers’ or ‘Phone Numbers.’
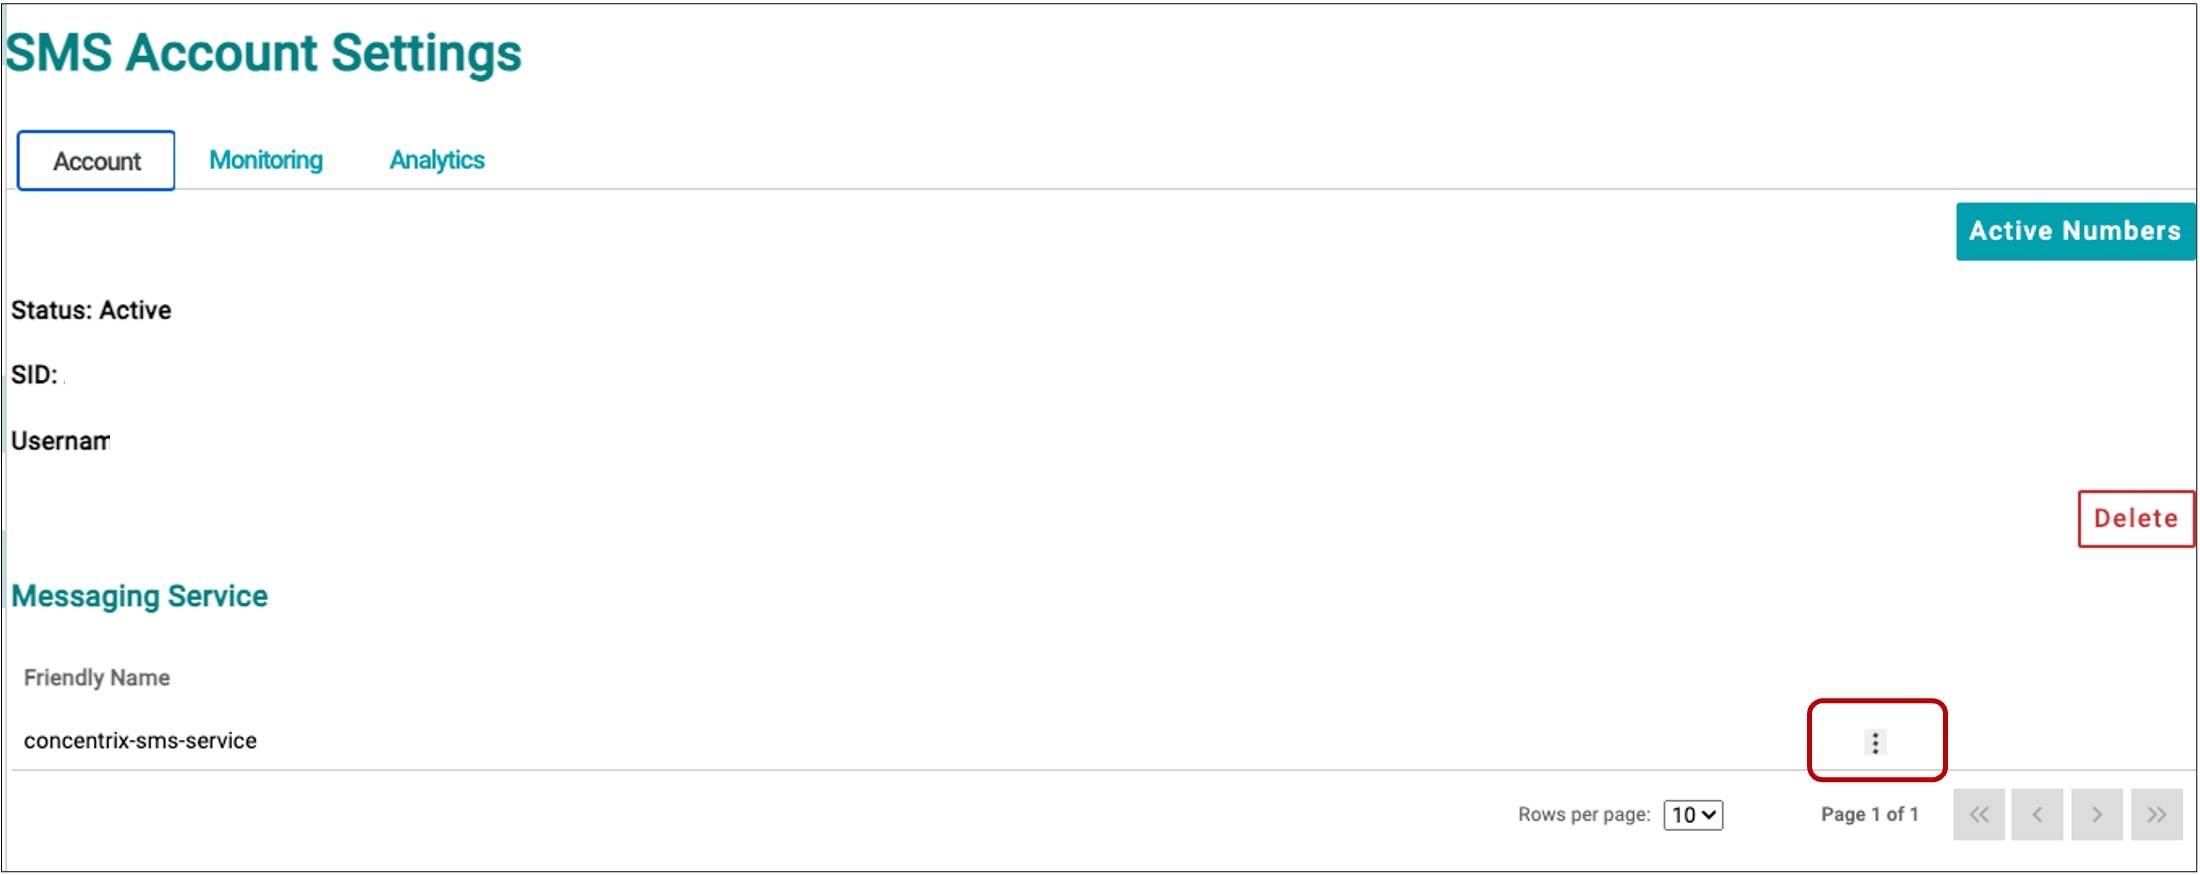
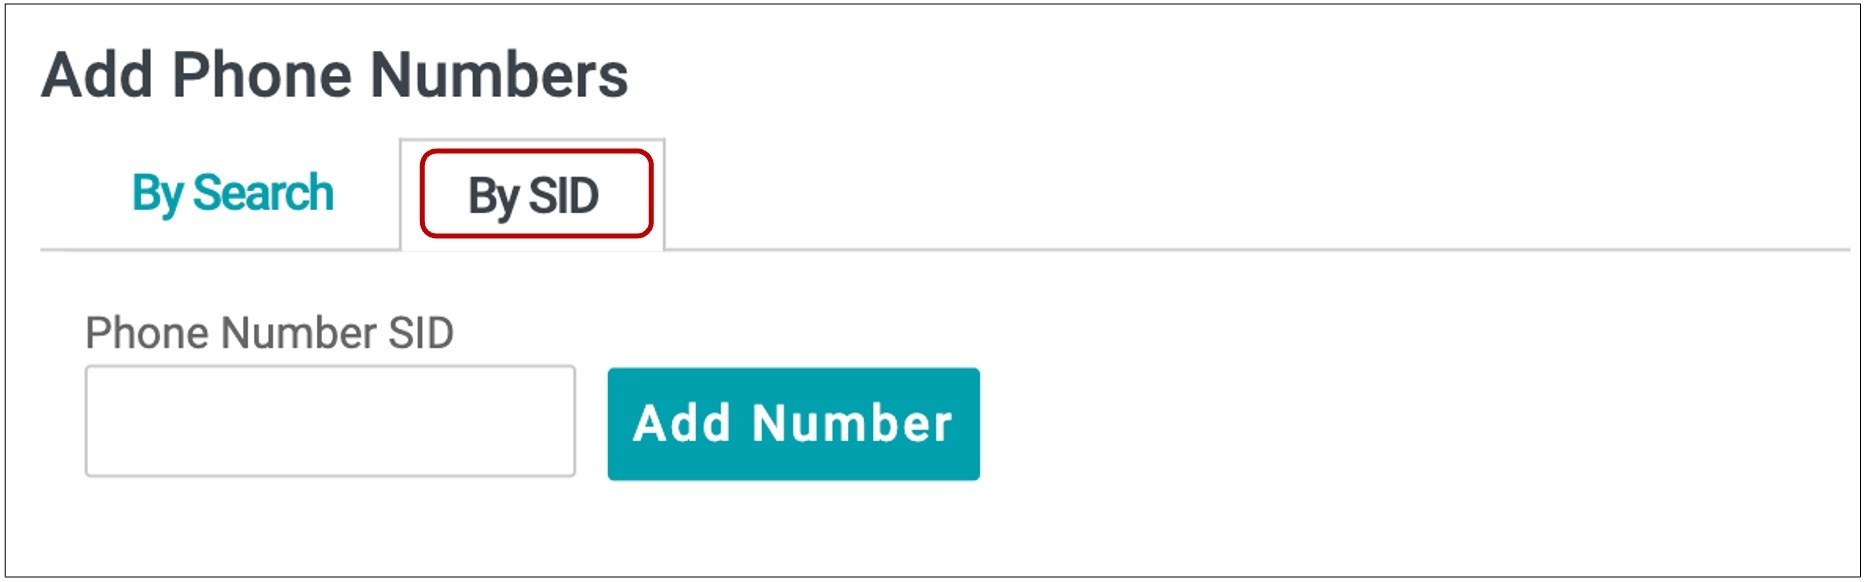
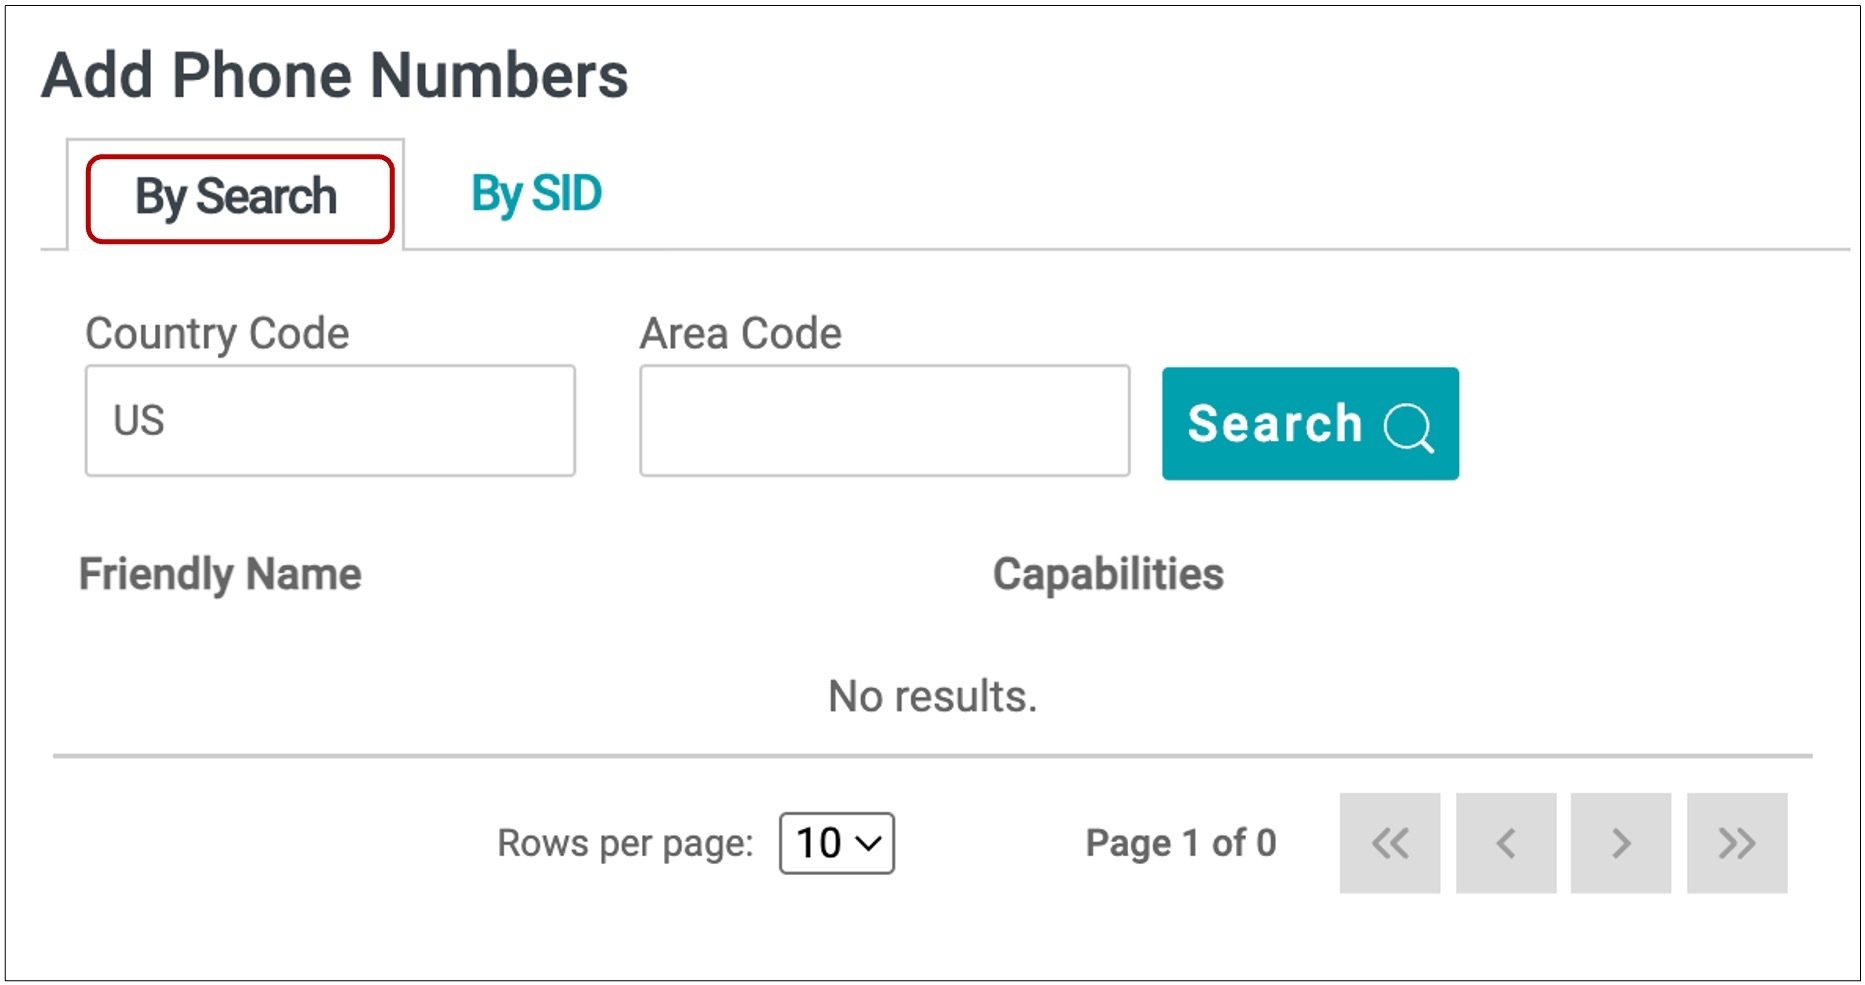
If you already have an existing phone number, you can check it by clicking the ‘Active Numbers’ button on the right side of the screen. Copy the SID, input it under the ‘Phone Number SID under the By SID Tab,’ and then click the ‘Add Number’ button. The SID will be generated by Twilio. You can also add a phone number by searching using the area code under the By Search tab by indicating the Country Code and Area Code, then click Search.
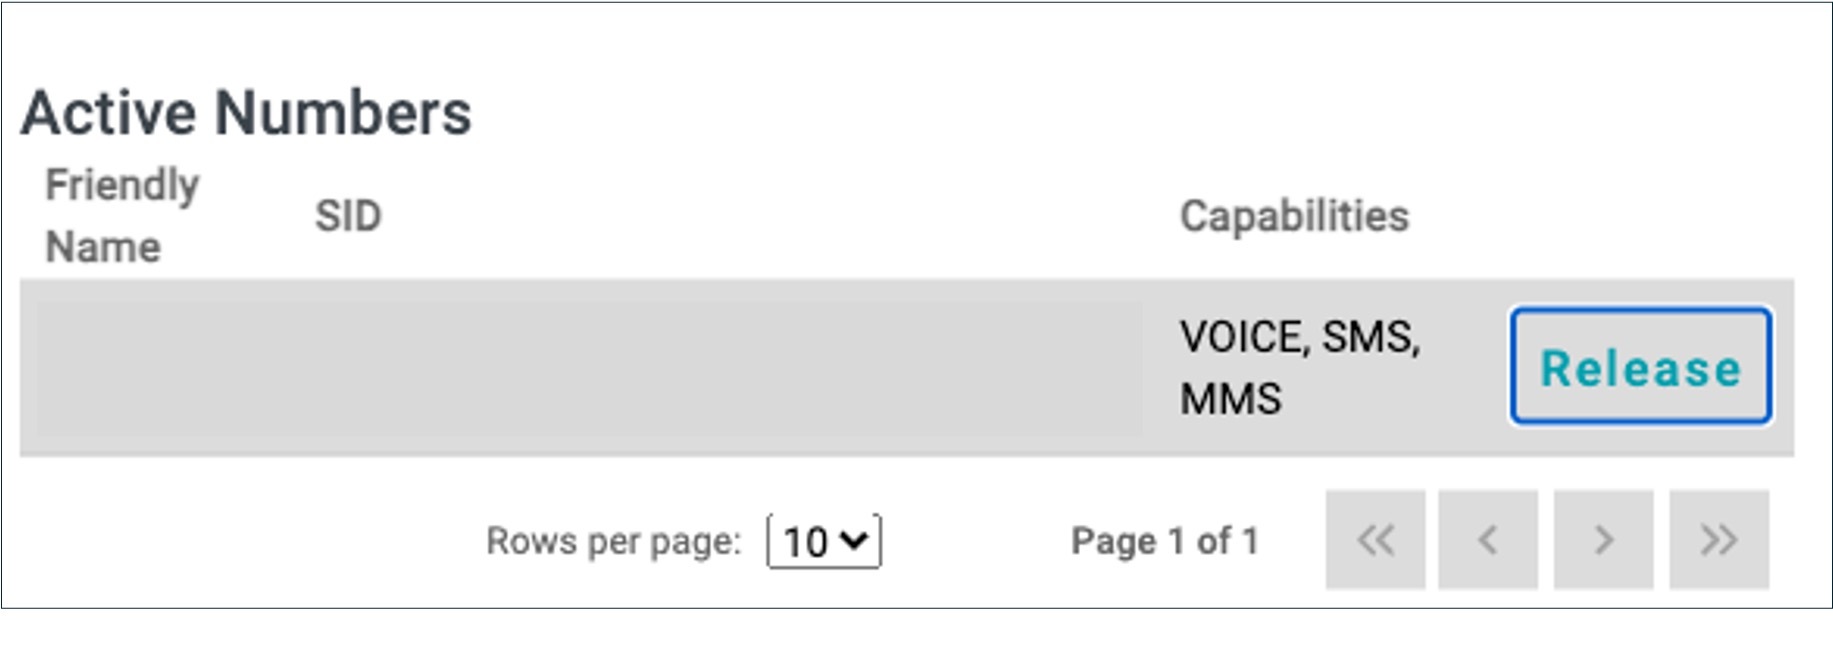
To exclude the phone number from the Messaging Service, click the ‘Release’ button. If you want to remove the phone number from your account entirely, click the ‘Release’ button under the "Active Numbers" section.
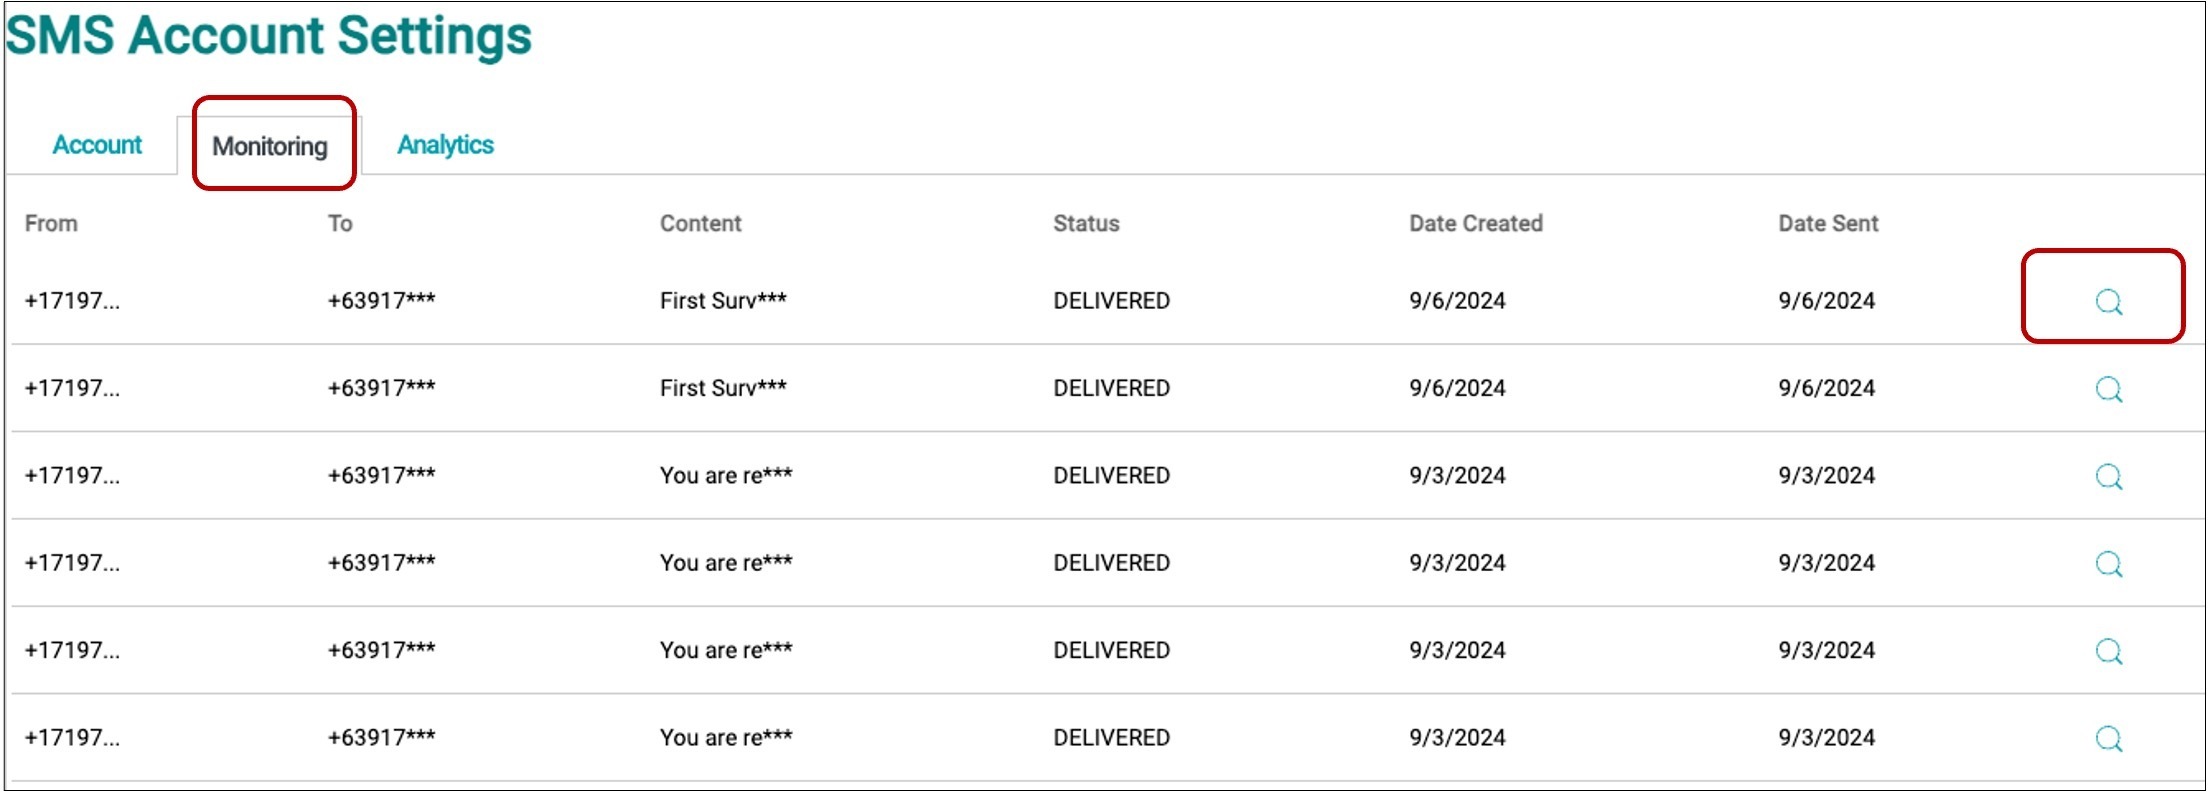
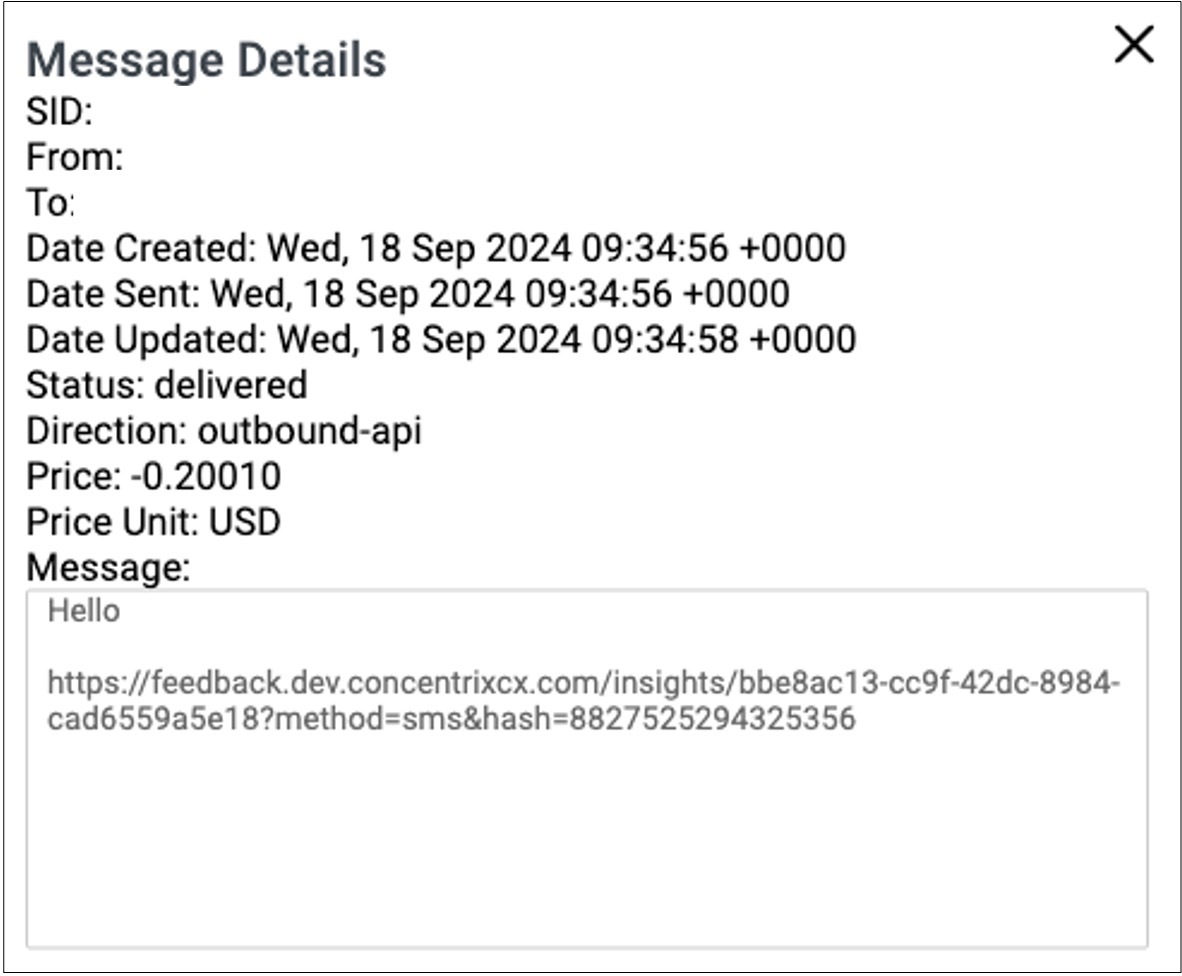
Under the Monitoring tab, here, you will see all the SMS surveys that were deployed and their status. You can also view the SMS details by clicking the magnifying glass icon.
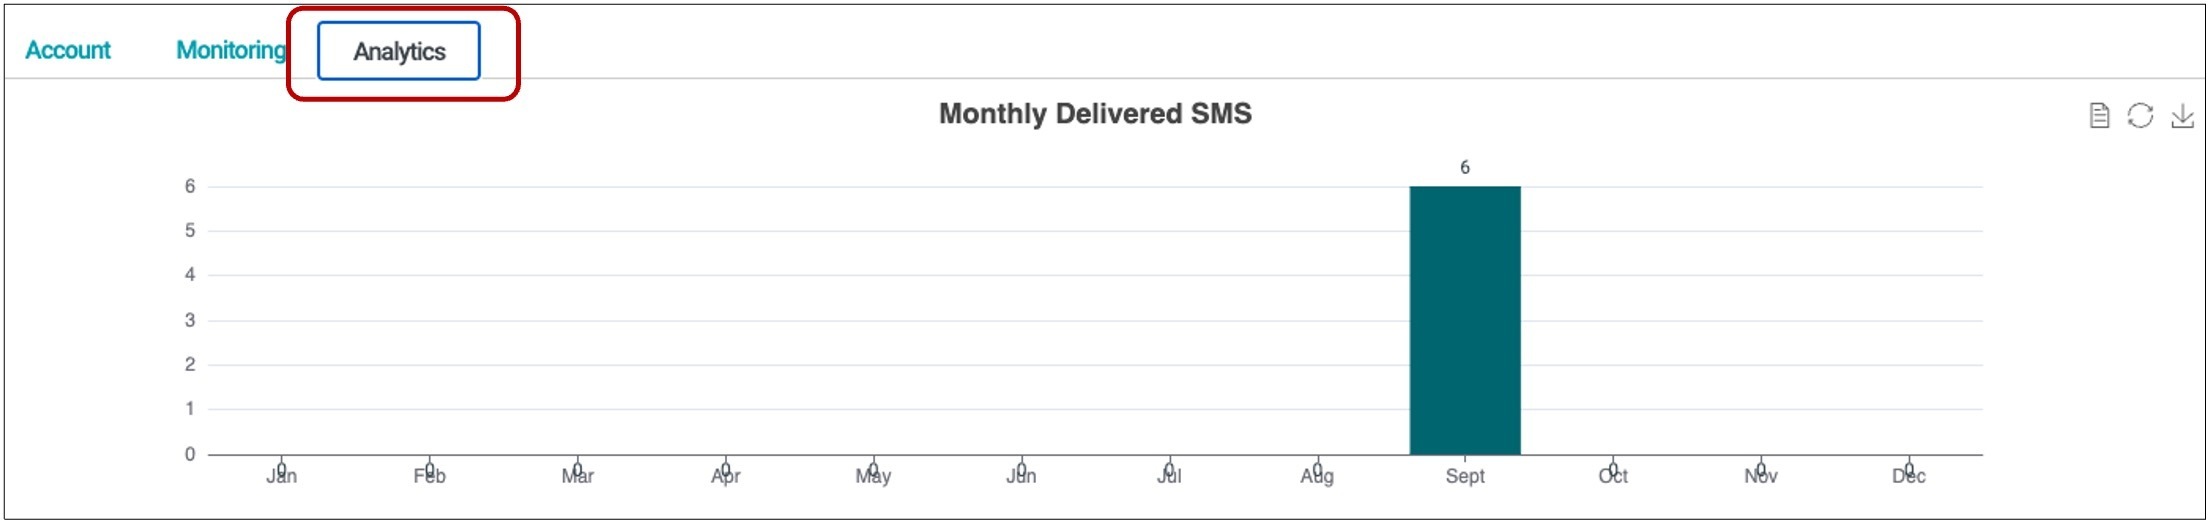
To view SMS survey data, navigate to the top of your SMS account settings and select the ‘Analytics’ tab. A graph of the deployed SMS surveys will be displayed. To download the graph, click the down arrow icon in the upper right corner of the chart. For raw data, click the paper icon also located in the upper right corner.
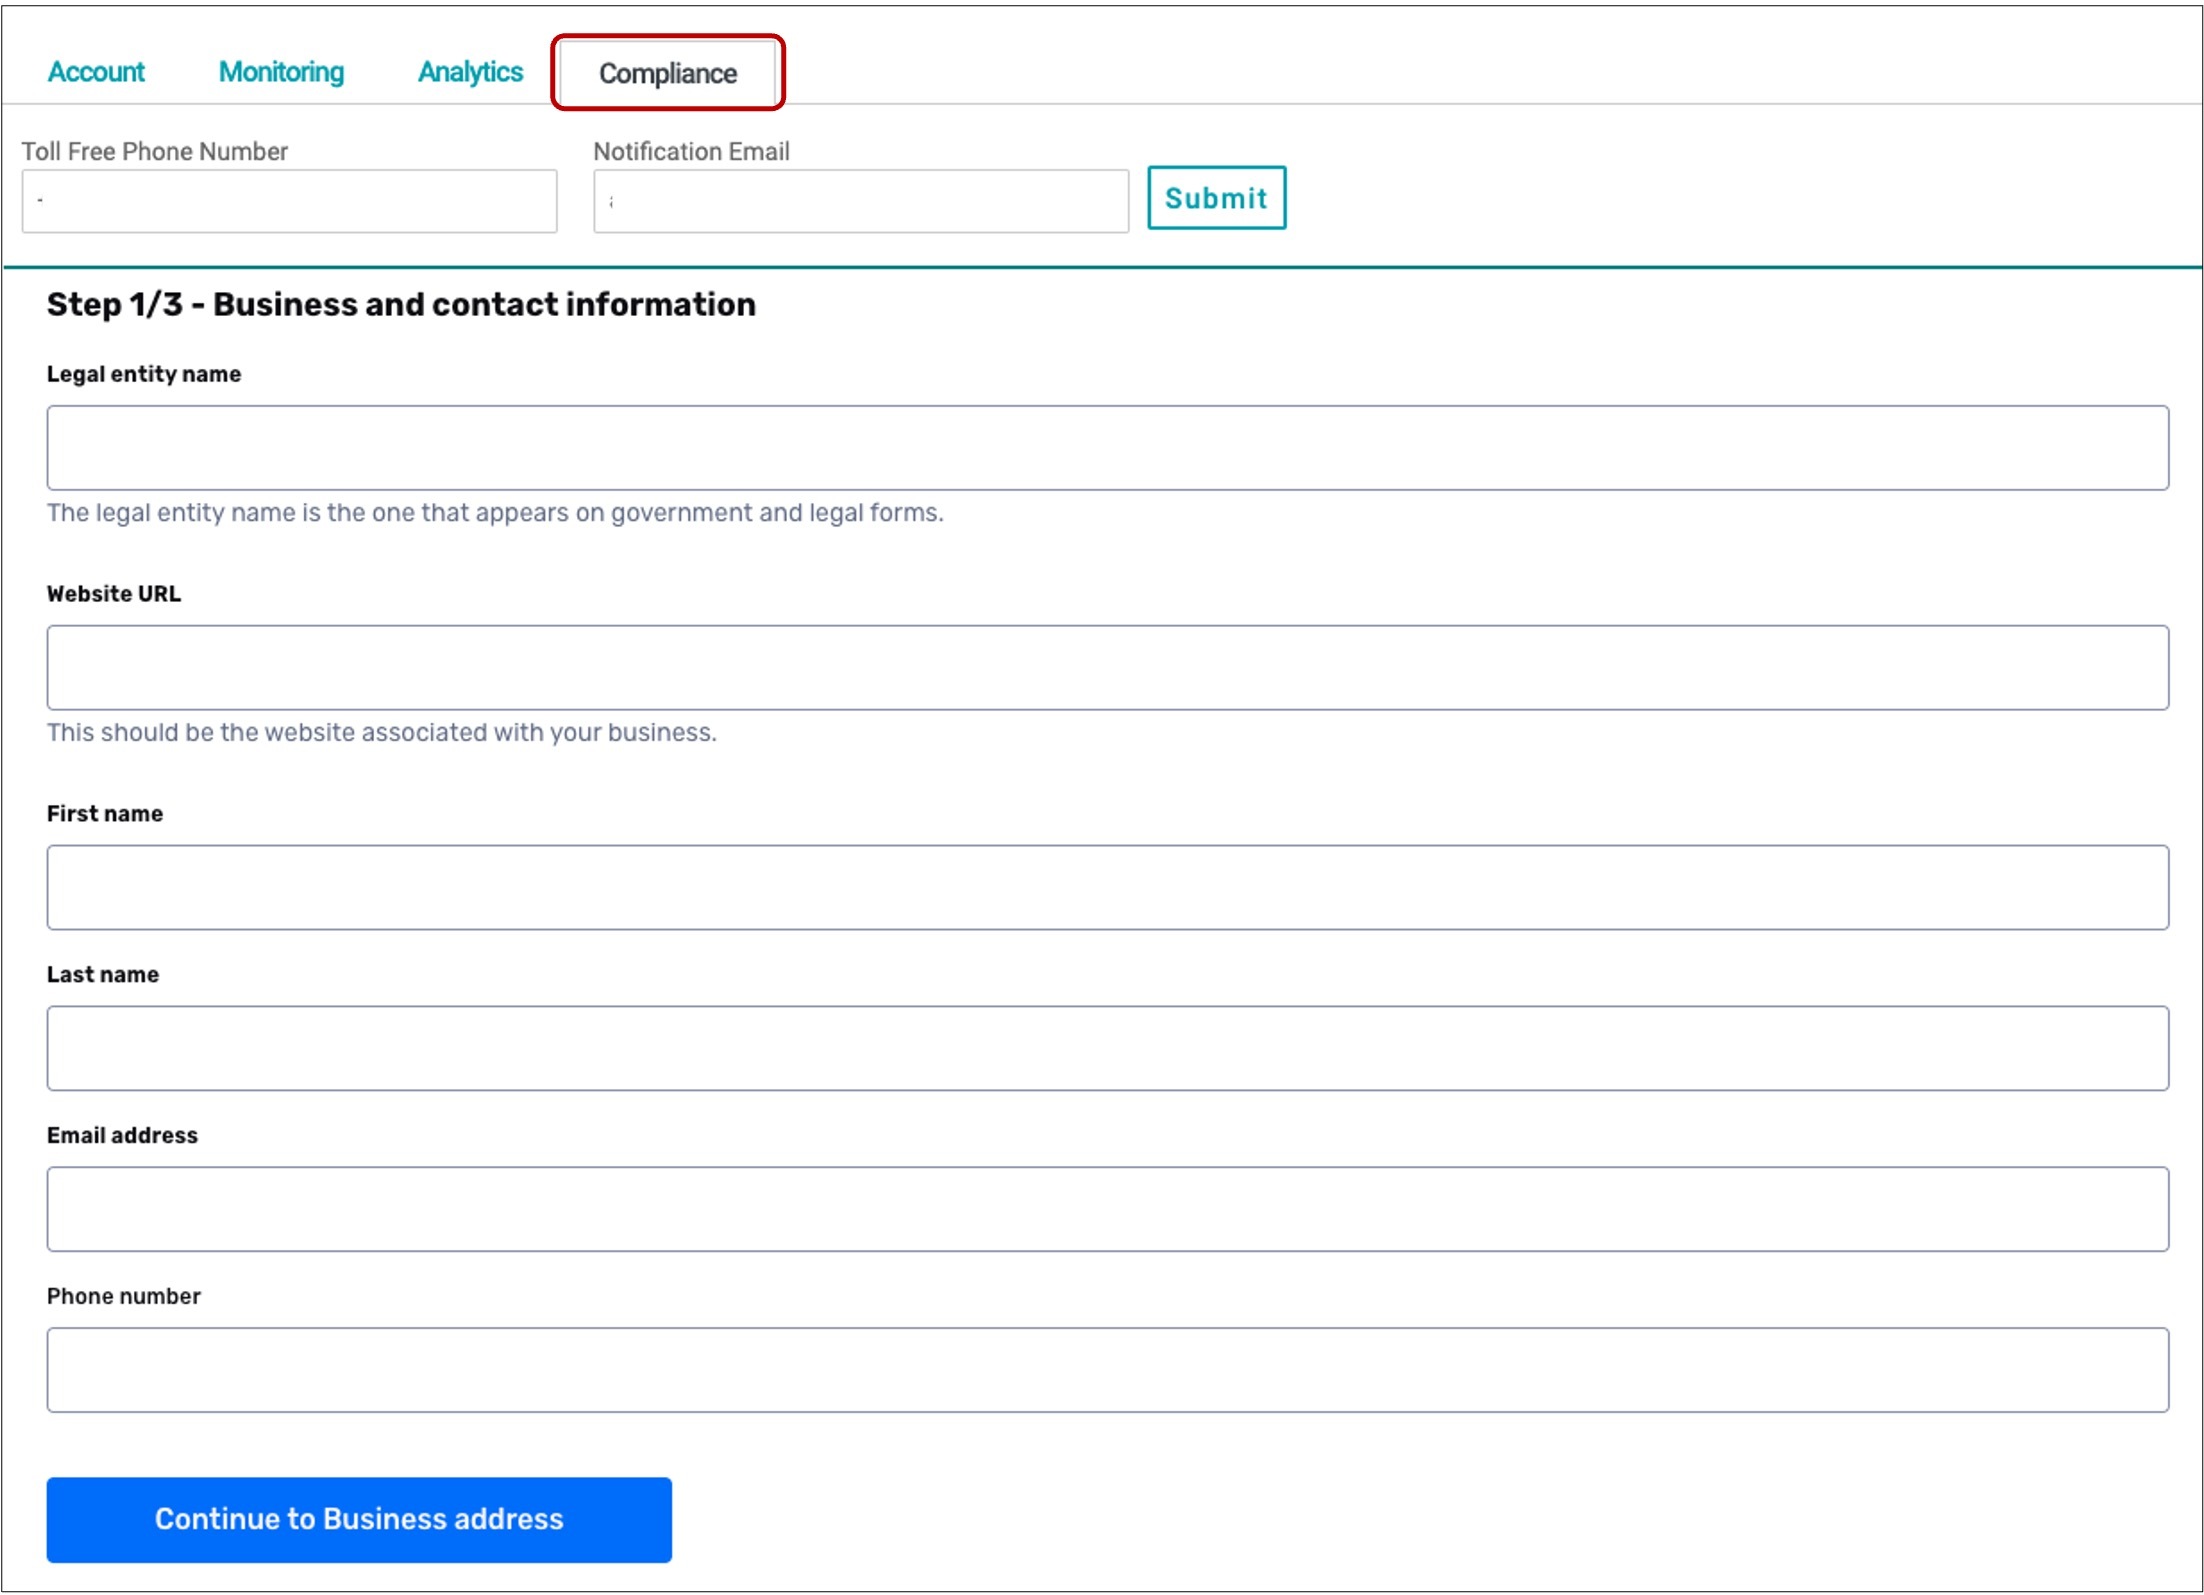
Under the Compliance tab, the client can set-up his own business configuration. A Toll-Free Number and a valid Email address are required to proceed with the steps in updating the business configuration.
- Step 1: Business & Contact Information
- Step 2: Business Address
- Step 3: Messaging Use Case
Creating and Managing Survey Contacts
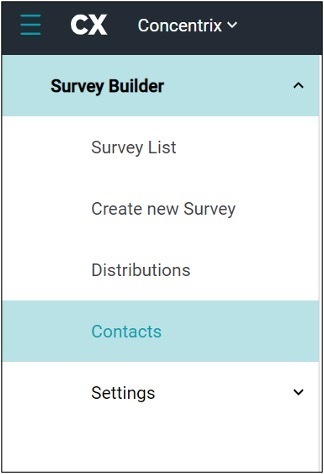
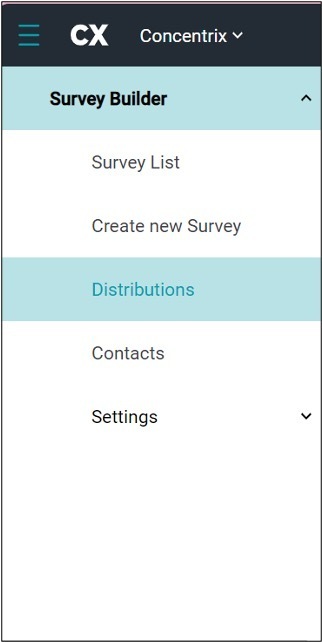
To manage the recipients of your surveys, navigate to the hamburger icon at the top left of your screen and select the ‘Contacts’ tab.
When sending out your surveys you can send to individuals or groups. The individuals will be singular addresses and numbers while groups will allow you to swiftly combine multiple individuals to send a survey to.

To create a new contact group, navigate to the top of your screen and select the ‘Groups’ tab. Once in the Groups tab, navigate to the top right of your screen and select ‘Show Create Panel’.

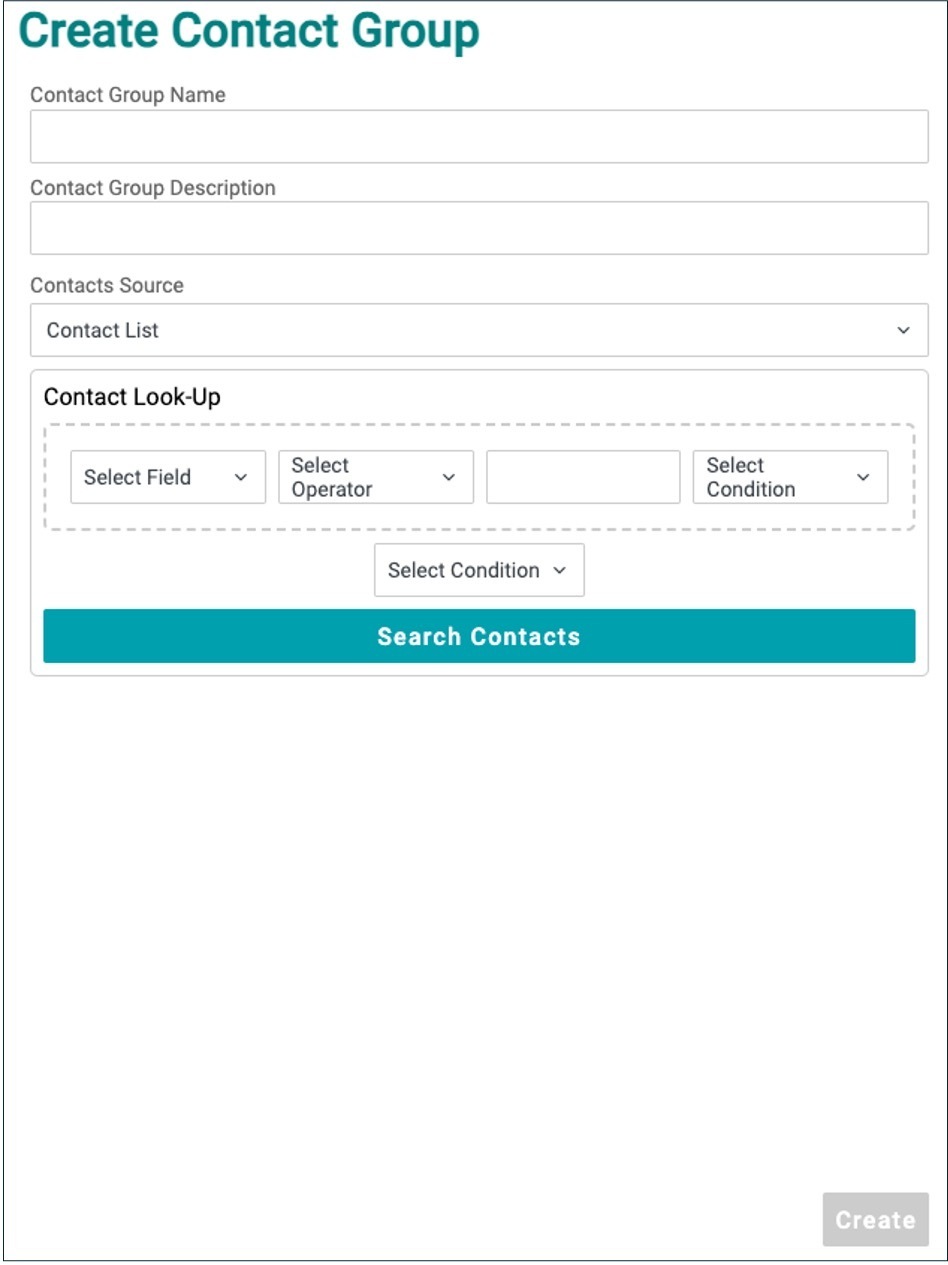
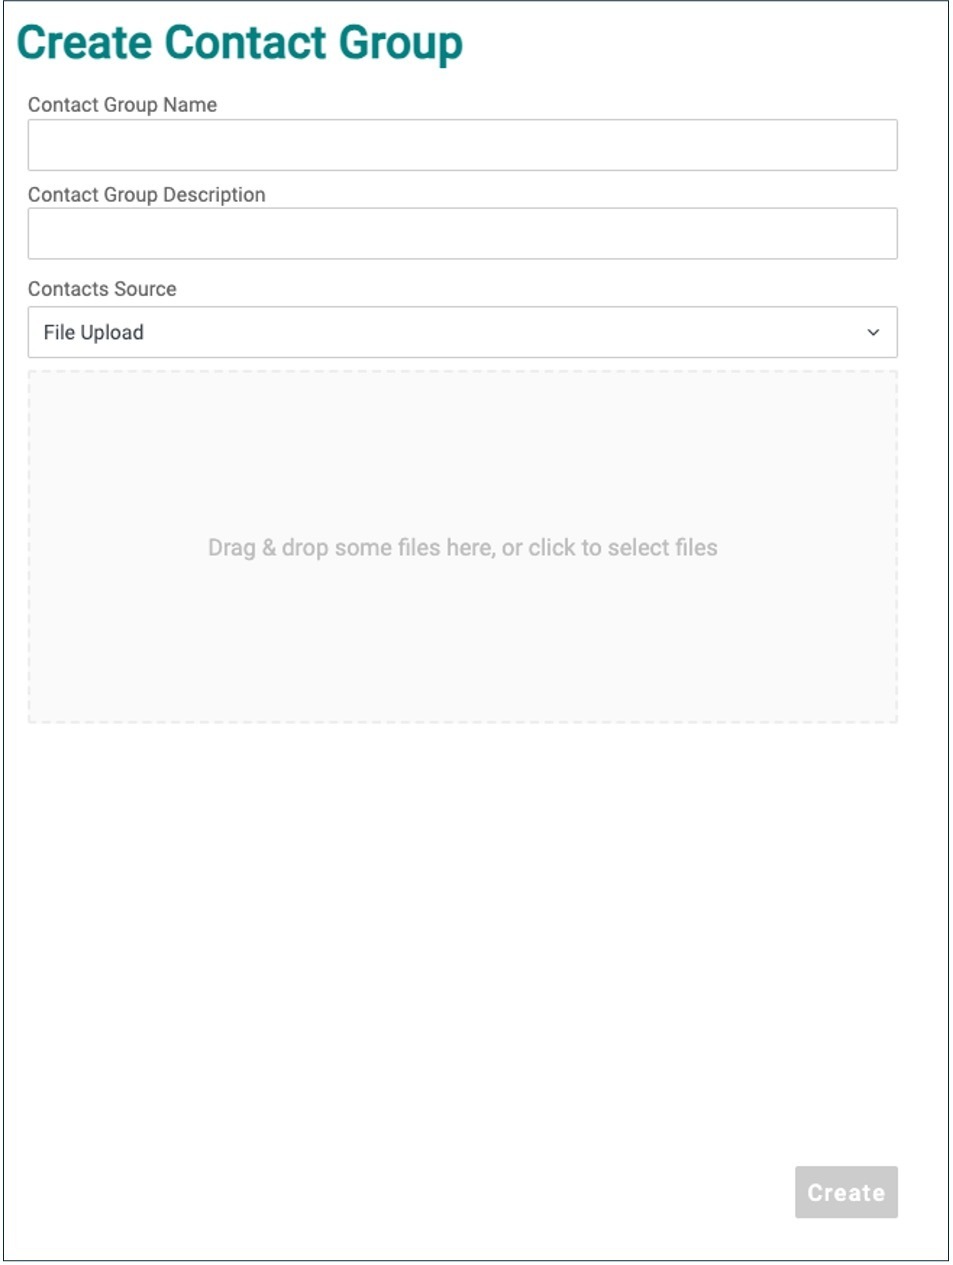
Once in the Create Contact Group page, you can create a new custom group name by populating the Contact Group Name, Contact Group Description and select Contacts Source. Under the contact source, select Contact List or File Upload from the dropdown list, then click the Create button.
- Contact List – fill up the Contact Look-u to filter and generate contacts
- File Upload – you can drag and drop a file or select from your files
Distributing a Survey
To distribute your survey after it is published, navigate to the hamburger icon at the top left of your screen. Select the Distributions Tab to begin sending out your survey. Once in the Distributions page, navigate to the top right of your screen and select the ‘Create’ button

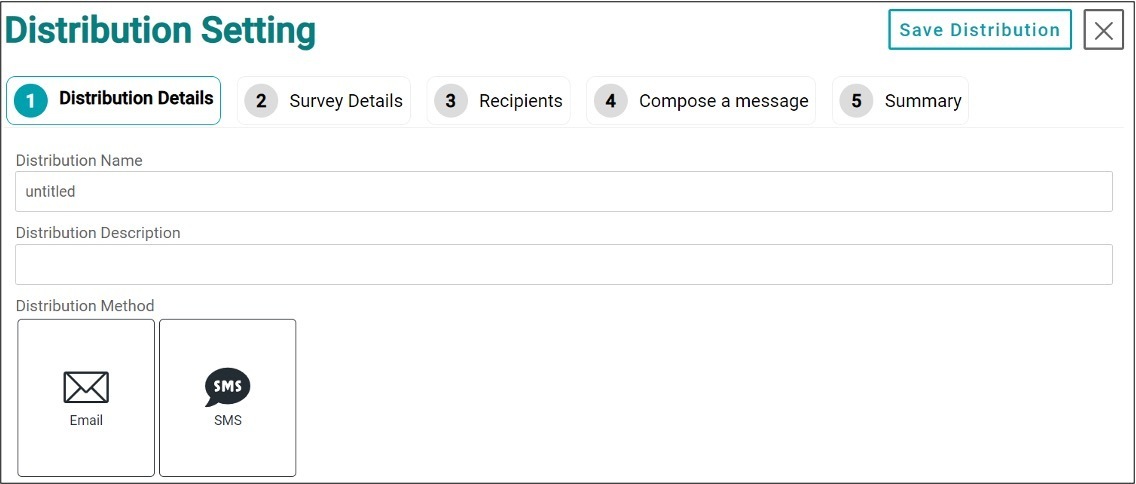
By selecting the ‘Create’ button, you will be prompted to type in the distribution or survey name and a description along with the method you wish to send the campaign.
Once you have completed those tasks, select the 2nd tab at the top of your screen to move to the ‘Survey Details’. Select from the dropdown the survey you wish to distribute.
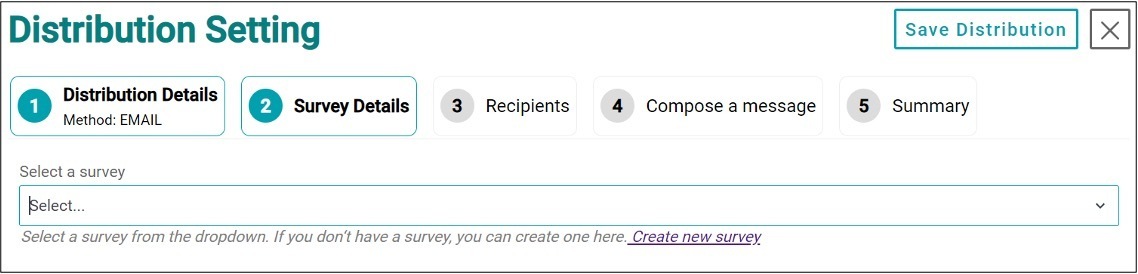
You can only select a survey that has been published. If the survey has not yet been published it will not appear in the dropdown.
Once you have selected the survey you wish to distribute, navigate to the top of your screen to select the 3rd tab, Recipients, to choose the people you want to receive the survey. Once in the Recipients tab, use the Contact Group dropdown to choose the group you wish to send the survey to.
If you wish to send the survey to one individual, use the text box to type in the email of your recipient.
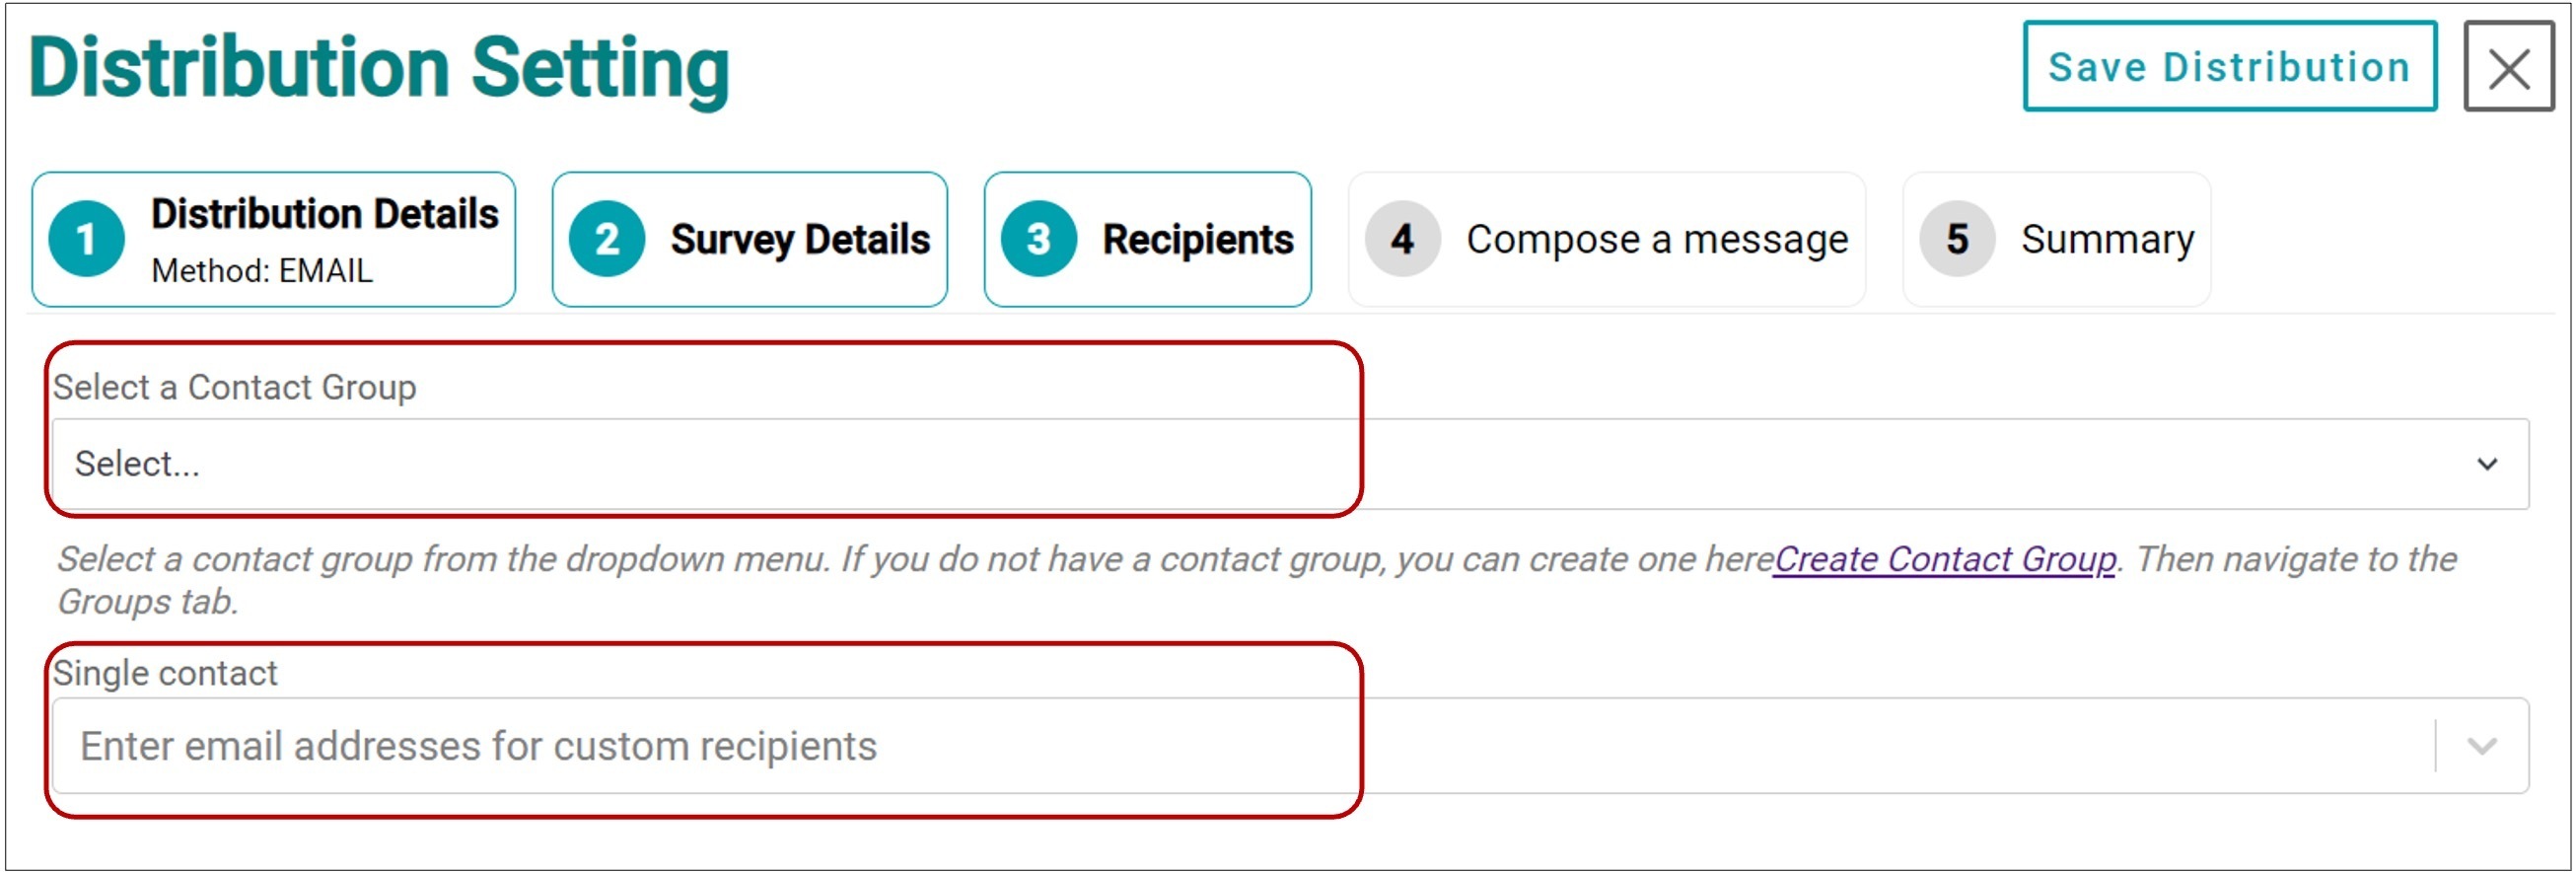
If you have not created a Contact Group, see the ‘Creating a Contact Group’ section of the user guide to complete this first.
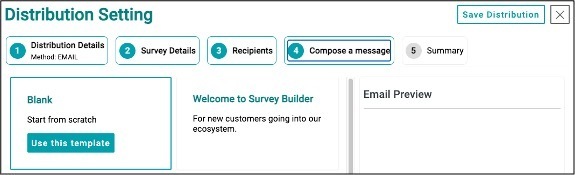
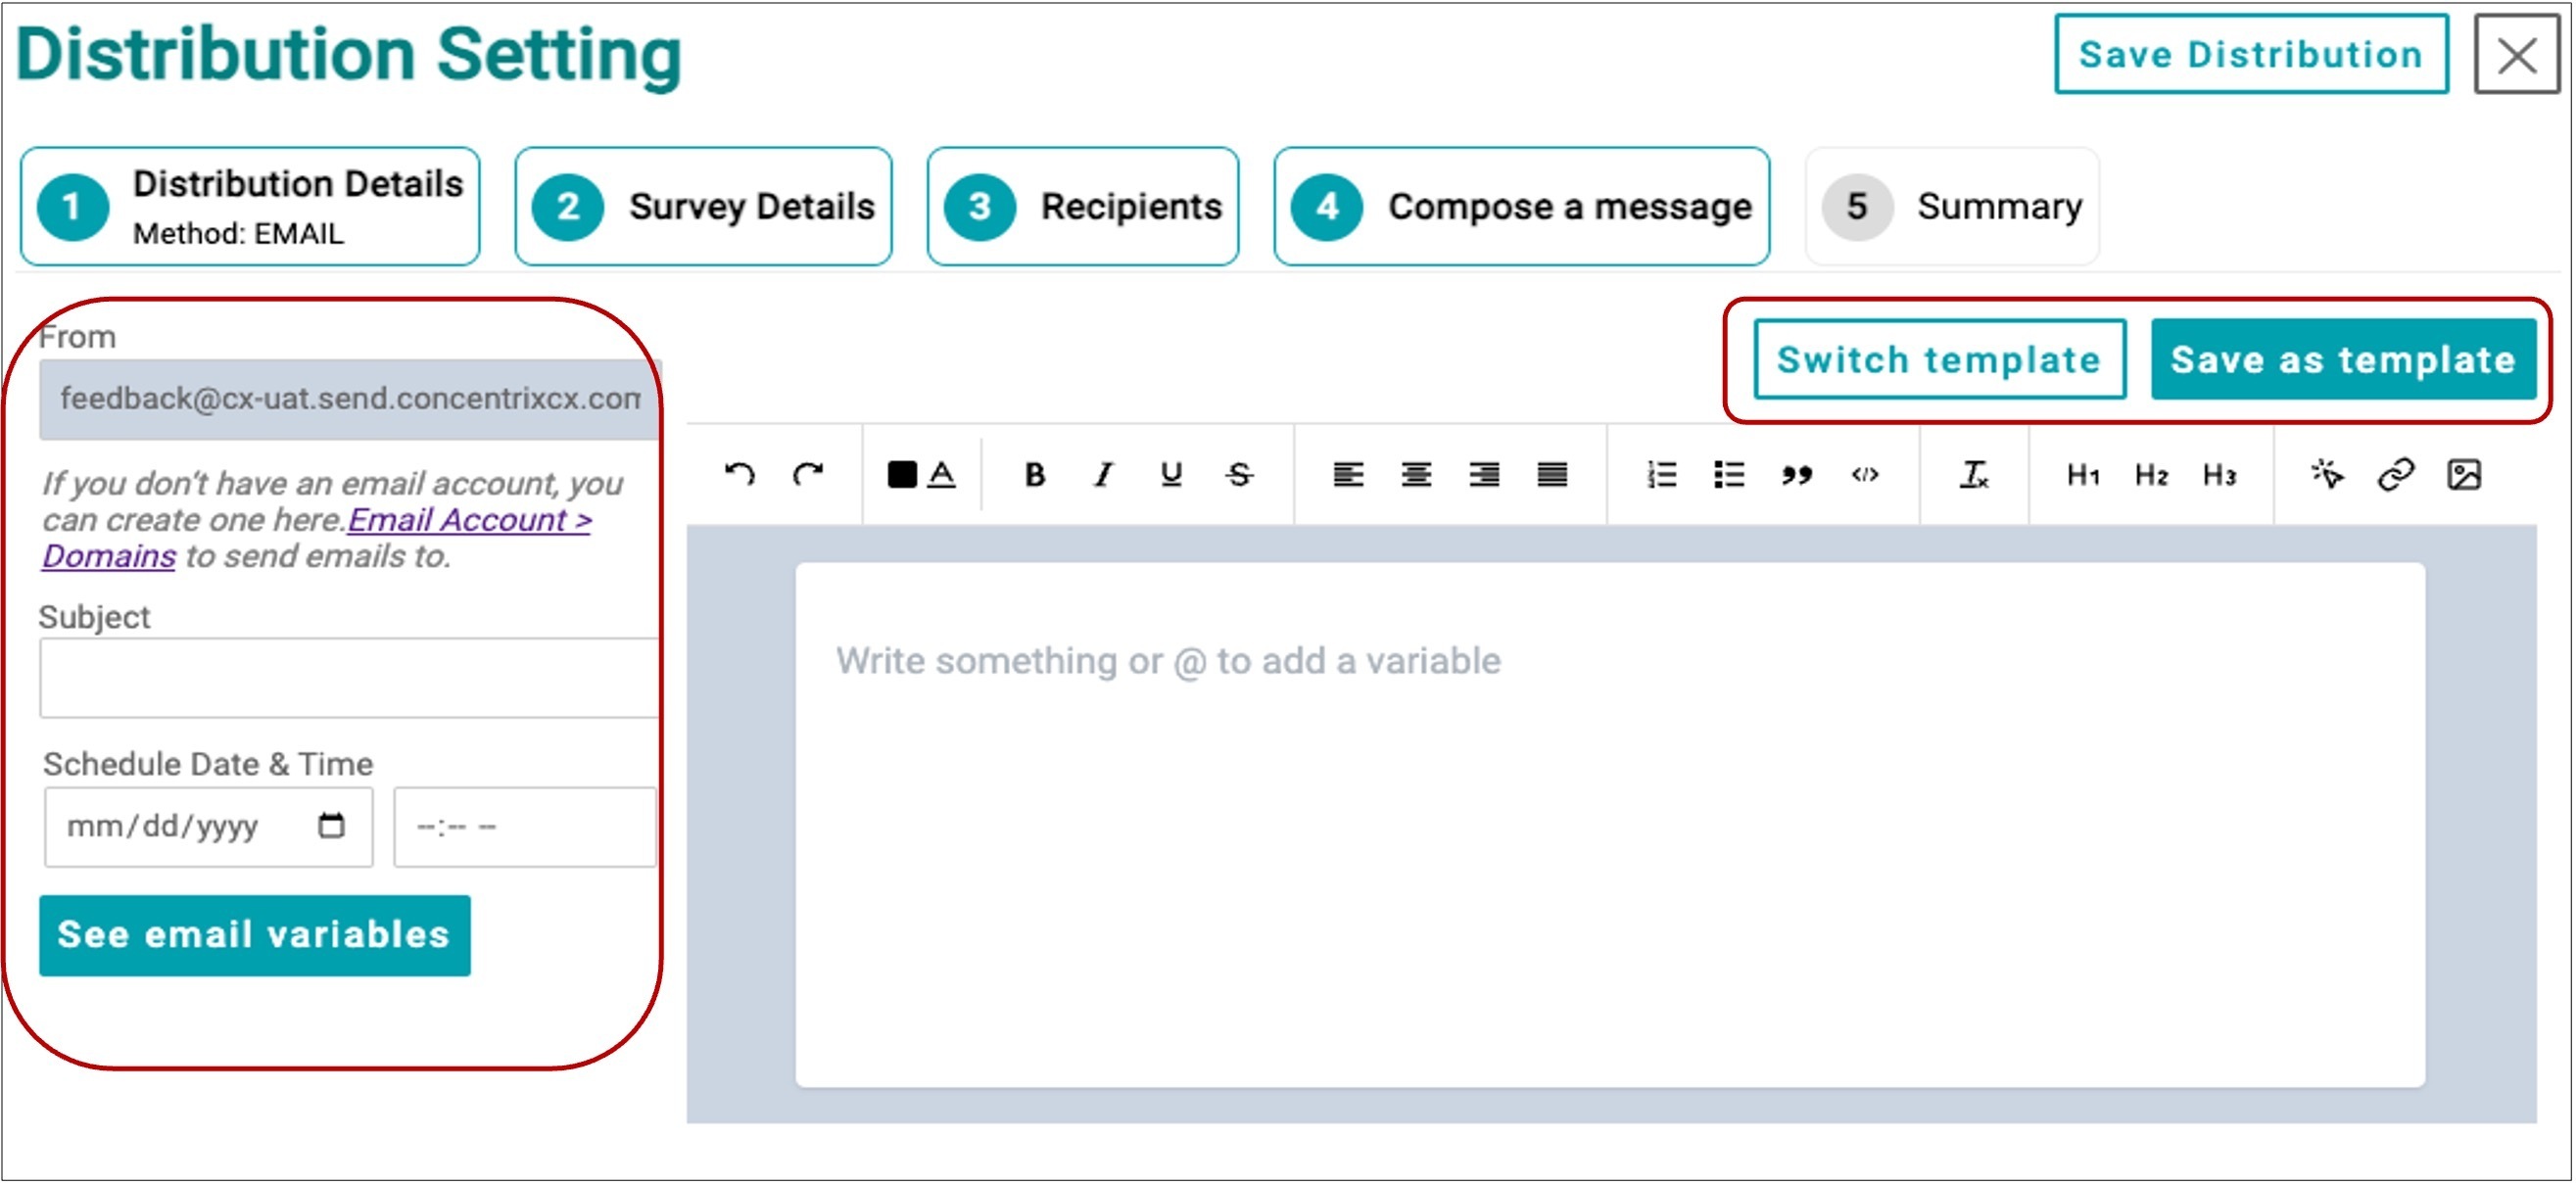
Under the Compose a Message section, you can either choose a pre-made template or start from scratch to craft your message. Begin by specifying the Subject and the Schedule Date and Time for when you want the survey to be sent out. If you need to review the details of the survey you're distributing, click the See Email Variable button for more information.
When composing your message, you have the flexibility to customize the content by modifying the font, color, and paragraph alignment using the editing tools provided. These features allow you to personalize and format the message to fit your needs. You have the option to insert the survey link along with the username and password directly within the body of your message. Once you've finished composing your message, you can choose to either save it as a template for future use or switch to a different template.
The “From” field should display the email account have configured under the Email Account menu.
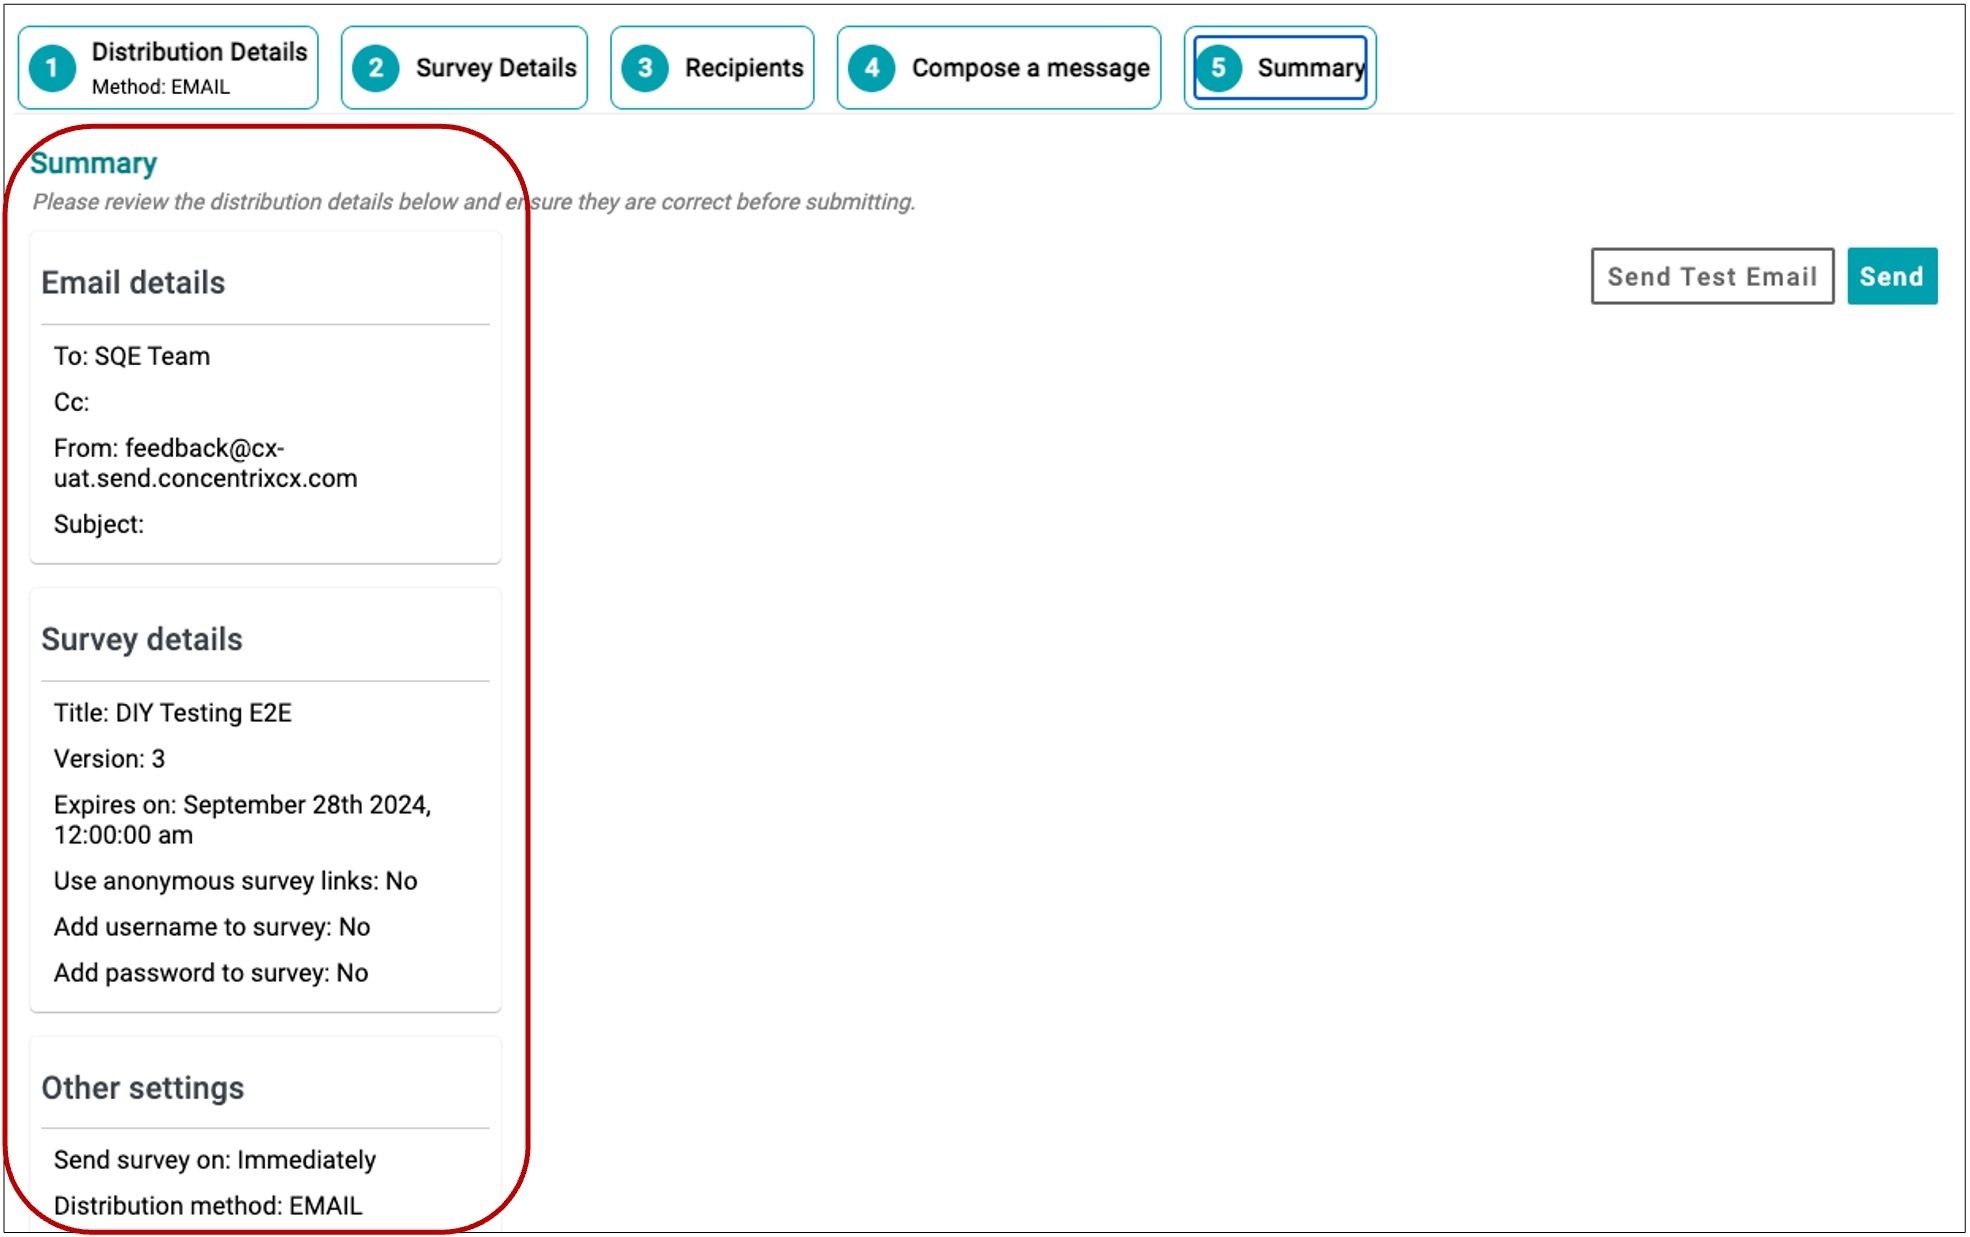
The Summary section provides an overview of key distribution details, including Email Details, Survey Details, and other relevant settings. This section serves as a final review point to ensure that all information is accurate and properly configured before sending out the survey for distribution.